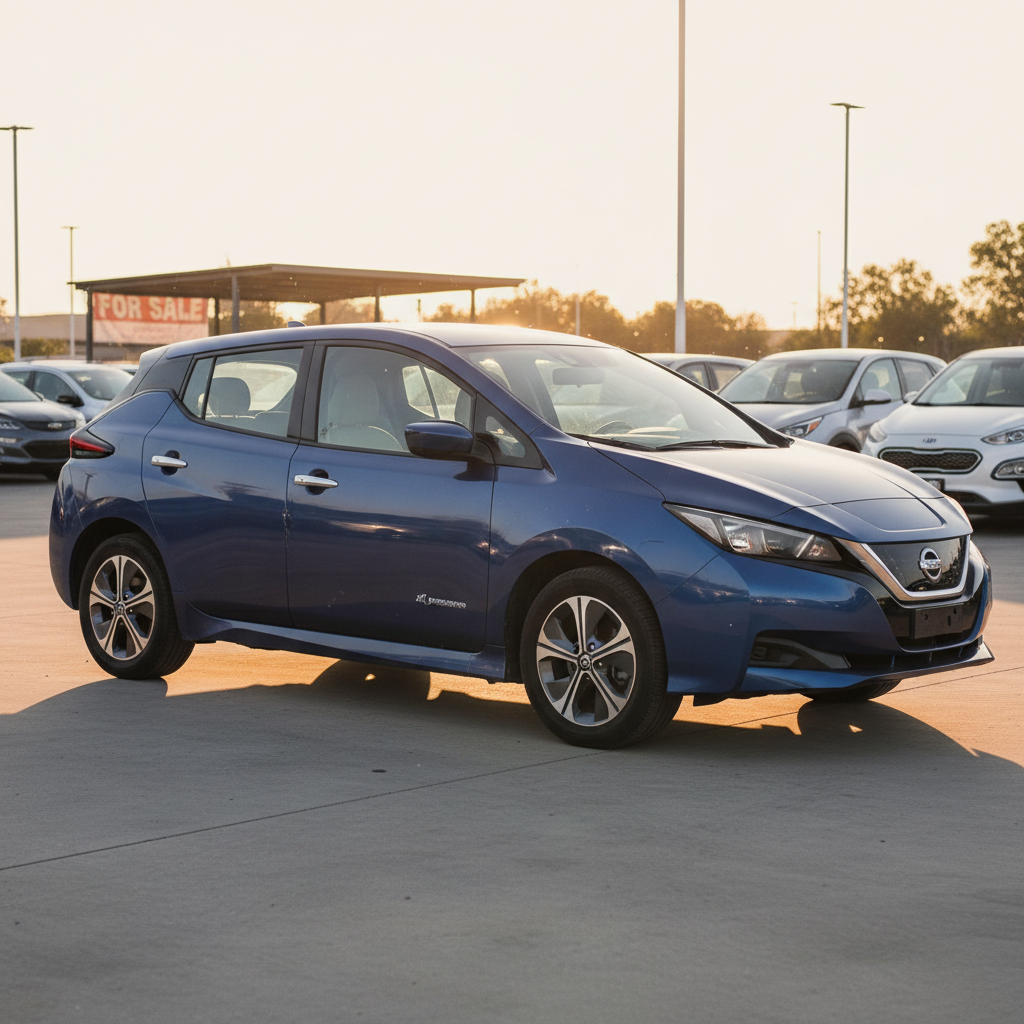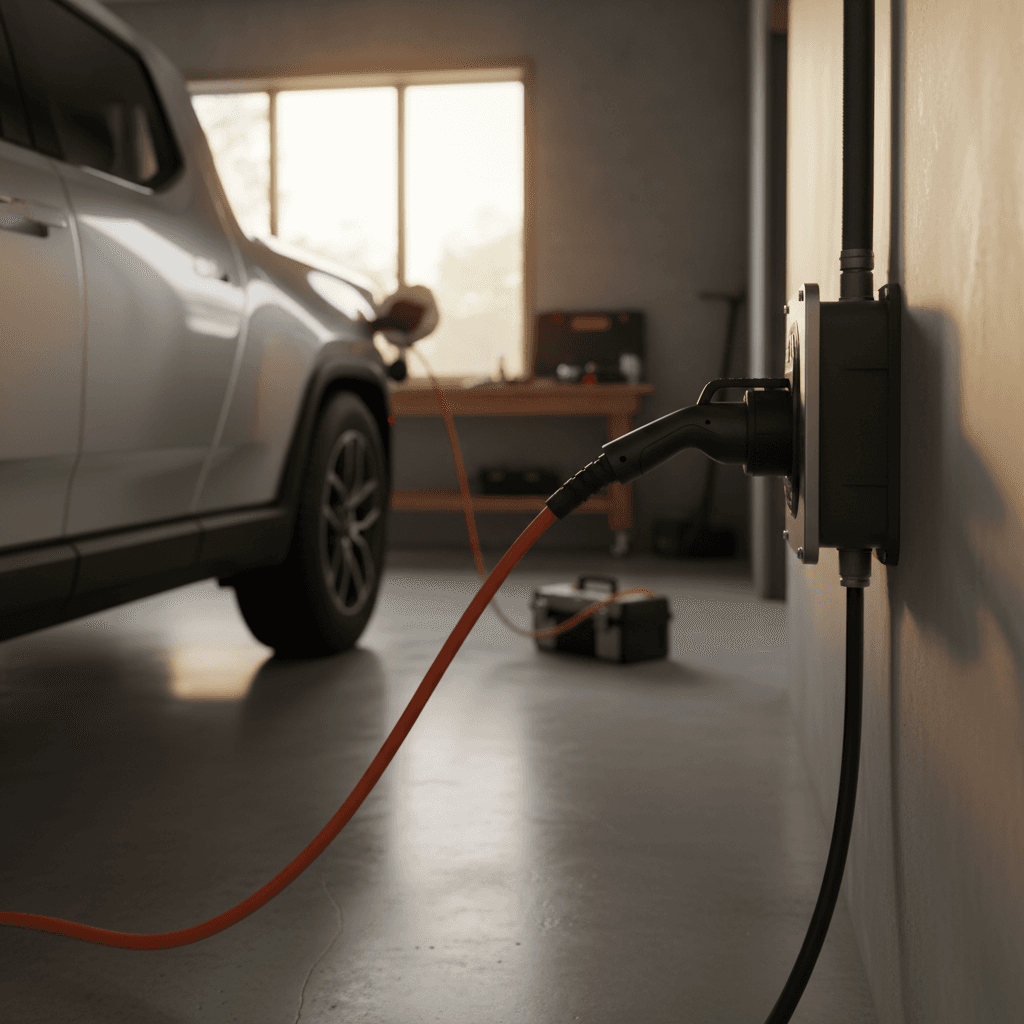
If you drive an electric vehicle, learning how to install a 240V outlet is one of the fastest ways to make home charging less stressful. A 240-volt circuit powers Level 2 charging, which can add 20–40 miles of range per hour instead of the slow trickle you get from a standard 120V wall plug.
Quick reality check
Why a 240V outlet matters for EV charging
Level 1 charging on a standard 120V outlet typically adds only 3–5 miles of range per hour. That might be fine for plug-in hybrids or very short commutes, but it quickly becomes limiting if you drive a full battery-electric vehicle. A dedicated 240V outlet on a 30–60 amp circuit unlocks Level 2 charging, which can easily cover a full day’s driving during an overnight session.
What a 240V outlet means in real life
That’s why almost every EV owner who can install home charging eventually moves to 240V. It’s the difference between planning your life around charging and letting charging quietly fit around your life.
Safety first, and when not to DIY a 240V outlet
Critical safety warning
- Always shut off power at the main breaker before opening a panel.
- Use a non-contact voltage tester to confirm power is off before touching conductors.
- Follow National Electrical Code (NEC) guidelines and your local building department’s rules.
- Pull permits when required and schedule inspections, this protects you at resale and for insurance.
- If you have an older home, aluminum wiring, or a crowded panel, involve a licensed electrician from the start.
Smart shortcut
Pre-install checklist: is your home ready for 240V?
Home readiness checklist for a 240V EV outlet
1. Confirm service capacity
Most modern U.S. homes have 100–200 amp service. Check your main breaker rating. If you’re already close to capacity with HVAC, electric range, and dryer loads, you may need a load calculation or panel upgrade before adding a 240V EV circuit.
2. Find the panel and route
Locate your main or subpanel and map a path to where you want the outlet, often near where your EV will park in the garage or driveway. Shorter, direct runs of conduit keep costs down and reduce voltage drop.
3. Choose an outlet location
Pick a spot that’s dry, accessible, and protected from vehicle impact. Most homeowners install the 240V outlet on an inside garage wall 2–4 feet off the floor, within 10–15 feet of the car’s charge port.
4. Check for existing 240V circuits
If you have an unused or rarely used 240V appliance (like an old electric dryer circuit near the garage), your electrician may be able to repurpose or extend it, if capacity, wire gauge, and code allow. Never “double up” loads on a circuit that isn’t designed for it.
5. Contact your permitting office
Check with your city or county building department to confirm permit requirements and any local amendments to the NEC. Many municipalities now have fast-track EV charging permits because they see this so often.
Choosing the right 240V outlet style for your EV
Not all 240V outlets are the same. For EV charging, the most common receptacle types you’ll hear about are NEMA 6-20, 6-30, and 14-50. The “NEMA” number describes both the shape and amperage rating of the outlet.
Common 240V outlet types for EV charging
Talk to your electrician and check your EVSE (charging cable) to match the right outlet and breaker size.
| Outlet type | Typical breaker | Max continuous load* | Common use in EV world |
|---|---|---|---|
| NEMA 6-20 | 20A | 16A | Light-duty Level 2 for plug-in hybrids or very low daily miles |
| NEMA 6-30 | 30A | 24A | Moderate Level 2 charging with some portable EVSE units |
| NEMA 14-30 | 30A | 24A | Can be used where an old 30A dryer circuit is repurposed |
| NEMA 14-50 | 50A | 40A | Most popular for higher-power portable EV chargers and many RV parks |
| Hardwired (no outlet) | 40–60A+ | 32–48A | Used for wall-mounted EVSE units instead of receptacles |
Choosing an outlet your EVSE actually supports is more important than chasing the biggest number.
About that asterisk
Before you commit to a 240V outlet type, confirm what your EVSE (charging cable or wall box) supports. There’s no point installing a 14-50 outlet if your portable charger is limited to 24 amps on a smaller plug, and your vehicle’s onboard charger may cap things further.
Tools and materials you’ll typically need
Typical tools & materials for a 240V outlet run
Your electrician will handle most of this, but knowing the list makes quotes easier to compare.
Tools
- Voltage tester / multimeter
- Drill and bits for studs or masonry
- Fish tape for pulling wire
- Wire strippers and cutters
- Screwdrivers and nut drivers
Electrical materials
- Correct gauge copper wire (e.g., 6/2, 8/2, or 10/2 NM-B or THHN in conduit)
- New 2-pole breaker (20A–60A, as designed)
- NEMA receptacle and matching cover plate
- Electrical box (surface or flush mount)
- Conduit and fittings (if required by code)
Safety & code items
- Labels for panel and receptacle
- GFCI protection where required by code
- In-use cover if outdoors
- Permits and inspection sign-off
Panel compatibility matters
Step-by-step: how to install a 240V outlet (conceptual overview)
Here’s a high-level look at how to install a 240V outlet for EV charging. Treat this as an overview so you understand what your electrician is doing, not as a substitute for training, permits, and on-site judgment.
- Plan the load and circuit size. Determine your EV’s maximum AC charging rate and your EVSE’s rating, then size the circuit accordingly (for example, a 40A continuous load requires a 50A breaker). Verify that your main panel has enough capacity to add that load.
- Pull permits if required. Submit a simple plan or description to your local building department. Many jurisdictions have a streamlined EV-charging permit path.
- Shut off power and open the panel. With the main breaker off, remove the panel cover, verify that the bus is de-energized where you’ll be working, and identify an open 2-pole breaker space.
- Run cable or conduit. Route appropriately sized cable from the panel to the outlet location. This may involve drilling through studs, running conduit along a garage wall, or going through a crawlspace or unfinished basement.
- Install the electrical box and receptacle. Mount the box securely, make up the connections following the receptacle diagram, and ensure grounding is correct. For a split-phase 240V circuit in the U.S., you’ll typically have two hot legs and a ground, and possibly a neutral depending on the outlet type.
- Terminate conductors at the panel. Land the hot wires on the new 2-pole breaker, ground on the ground bar, and neutral (if present) on the neutral bar. Dress wires neatly and maintain fill and bend radius requirements.
- Install the breaker and reassemble. Snap the breaker into place, reinstall the panel cover, label the new circuit, and ensure no conductors are pinched or stressed.
- Energize and test. Turn the main breaker back on, then the new circuit breaker. Use a multimeter to confirm correct voltage at the receptacle before plugging in any EVSE.
- Inspection and first charge. Once the inspector signs off, plug in your Level 2 EVSE and verify that the car charges at the expected rate without nuisance tripping.
Think ahead about cable length
What it costs to install a 240V outlet
Costs vary widely depending on your panel location, distance to the outlet, local labor rates, and whether you need a panel upgrade. For many homeowners, the total bill to add a basic 240V circuit in a garage lands somewhere between the price of a set of tires and a minor transmission repair on a gas car.
Lower-cost scenarios
- Short run (10–20 feet) through open garage walls
- Modern panel with plenty of spare capacity
- No drywall repair or trenching
- Simple NEMA 14-50 or 6-30 outlet indoors
In these cases, homeowners often see quotes that feel manageable, especially compared with fuel savings over a few years.
Higher-cost scenarios
- Panel on the opposite side of the house from the driveway
- Finished walls or ceilings that require cutting and patching
- Panel upgrades or new subpanel needed
- Outdoor installation with trenching and weatherproof gear
Here, the project can start to resemble a major appliance upgrade in cost and complexity, but you’re also future-proofing the home for the next EV owner.
How Recharged can help you plan the budget
Ready to find your next EV?
Browse Vehicles240V outlet vs wall-mounted EV charger
You don’t have to stop at a bare outlet. Many EV owners eventually install a dedicated wall-mounted Level 2 charger instead of (or in addition to) a 240V receptacle. Both approaches use a 240V circuit, but they differ in convenience, flexibility, and aesthetics.
Two main paths to Level 2 home charging
Both rely on 240V power, your choice is about hardware and day-to-day experience.
240V outlet + portable EVSE
Pros
- Lower upfront hardware cost
- Easy to take with you if you move
- Can sometimes use at RV parks or other locations with matching outlets
Cons
- Cable management is less tidy
- Less integrated look than a wall box
- Limited by the plug type and EVSE rating
Hardwired wall-mounted EV charger
Pros
- Clean, permanent installation with cable holster
- Often supports higher amperage and smart features
- Simple “grab-and-go” daily use
Cons
- Higher upfront hardware cost
- Harder to take when you move
- Usually requires an electrician to install or relocate
Think about the next owner
Common mistakes to avoid with 240V outlets
- Oversizing the breaker without upsizing wire gauge, this is a fire hazard and a code violation.
- Undersizing the circuit for your future needs, then having to pay twice for additional work.
- Installing the outlet far from where the EV’s charge port actually is, forcing you to run the cable across walkways or under doors.
- Skipping GFCI protection where required, especially in garages or outdoors.
- Ignoring permits and inspections, which can create headaches when you refinance, sell, or have an insurance claim.
- Relying on 50–100 foot extension cords instead of properly installed 240V circuits, never use household extension cords for EV charging.
Don’t “backfeed” or improvise
Frequently asked questions about 240V EV outlets
240V outlet installation FAQ
Bringing it all together
Installing a 240V outlet transforms EV ownership. Instead of nursing your state of charge on a 120V plug, you come home, plug in, and wake up ready to go, most days with a full or nearly full battery. Understanding how to install a 240V outlet helps you ask the right questions, choose the right circuit size and outlet style, and avoid shortcuts that cause problems later.
If you’re already driving electric, a trusted electrician and a clear plan are your next steps. If you’re still shopping for your first, or next, EV, Recharged can help you compare vehicles, understand real-world charging needs through the Recharged Score battery report, and budget realistically for home charging upgrades. That way, when the right used EV shows up in your search results, you’ll know exactly how to power it at home from day one.