If your Toyota bZ4X suddenly won’t “Ready” on the dash, the key fob won’t wake the car, or you’re stuck using the physical key to unlock the doors, there’s a good chance the culprit is the small 12‑volt auxiliary battery, not the big traction pack. This guide walks you through Toyota bZ4X 12V battery replacement step by step, what it costs, whether you can DIY it safely, and how to avoid getting stranded again.
Two batteries, two different jobs
Why the bZ4X 12V battery matters
In a conventional gas car, the 12‑volt battery has to crank the engine. In your bZ4X, the job is different but just as critical. The 12V battery wakes up the high‑voltage system, powers control modules, latches the contactors that connect the drive battery, and runs convenience features when the vehicle is off. If the 12V is weak or dead, the big battery can be fully charged and you still won’t go anywhere.
Toyota bZ4X 12V battery fast facts
Common symptoms of a failing bZ4X 12V battery
- Doors only unlock with the physical key, not the key fob
- Pressing the Start button gives warnings but no “READY” indicator
- Instrument cluster and touchscreen flicker, reboot, or stay dark
- Random error messages about multiple systems on startup, then they clear
- Car won’t shift out of Park even though the main battery shows charge
- The car wakes fine right after a drive but fails after sitting for a few days
Don’t ignore early warning signs
Where is the Toyota bZ4X 12V battery located?
On the bZ4X, the 12‑volt battery is located in the engine bay under the hood, on the driver’s side near the front corner. It looks like a conventional small car battery with top‑mounted posts and a plastic hold‑down bracket. You do not need to touch the orange high‑voltage components to replace it, those are part of the traction battery and DC‑to‑DC system, which should be left to professionals.

Can you drive your bZ4X with a dead 12V battery?
No. If the 12‑volt battery doesn’t have enough charge to power the body control modules and close the high‑voltage contactors, the car simply won’t enter READY mode. In some cases you can jump‑start the 12V battery from another vehicle or a jump pack, let it charge for a bit, and drive, but that’s a short‑term workaround, not a fix. If the battery has failed or is being drained by a deeper issue, it will likely strand you again.
High‑voltage safety reminder
Toyota bZ4X 12V battery replacement cost
Because the bZ4X uses a conventional 12‑volt lead‑acid battery, replacement costs are closer to a regular Toyota than to an EV traction pack. In the U.S., you can expect these ballpark numbers for a 2023–2025 bZ4X:
Typical Toyota bZ4X 12V battery replacement costs (U.S.)
Approximate pricing for out‑of‑warranty 12‑volt battery replacement on a bZ4X.
| Option | What’s Included | Estimated Cost |
|---|---|---|
| Toyota dealer | OEM 12V battery, test, install, basic memory saves | $280–$400 |
| Independent shop | Aftermarket equivalent, install, basic testing | $200–$320 |
| DIY at home | Battery only, no labor | $150–$250 |
Actual pricing varies by region, parts choice, and shop labor rates.
Check your warranty first
Tools and parts you’ll need
If you’re comfortable working around a conventional car battery and follow the safety notes, a Toyota bZ4X 12V battery replacement is very doable at home. Here’s what you’ll need:
bZ4X 12V battery replacement checklist: tools & supplies
Correct replacement 12V battery
Use a battery that matches the original in group size, terminal orientation, and cold‑cranking amps (CCA). The bZ4X uses a small 12V lead‑acid battery in the engine bay; your parts store can cross‑reference it by year, make, and model.
10mm and 12mm sockets or wrenches
Most terminal clamps and the hold‑down bracket bolts are standard Toyota 10mm or 12mm. A small ratchet with an extension makes access easier.
Safety gear
Wear safety glasses and gloves. Even though this is a low‑voltage circuit, lead‑acid batteries can leak acid and produce sparks if mishandled.
Memory saver (optional)
A 12V OBD‑II memory saver can help preserve radio presets and some settings, but the bZ4X will re‑initialize itself even if you skip this step.
Battery terminal brush or cleaner
Handy for removing corrosion from the clamps to ensure a solid connection with the new battery.
Torque wrench (recommended)
Over‑tightening can crack battery posts or strip small clamps. Snug is usually enough, but a torque wrench lets you follow Toyota’s specs precisely.
Step-by-step Toyota bZ4X 12V battery replacement
The high‑level process looks a lot like replacing the battery in a gas‑powered RAV4. The key is to shut the car down completely and avoid shorting the terminals.
- Park safely and power down. Park on a flat surface, set the parking brake, shift to Park, and make sure the car is fully OFF (no READY light, screens off). Remove the key fob from the vehicle so nothing tries to wake up while you’re working.
- Open the hood and locate the 12V battery. Pull the hood release inside the cabin, then unlatch the hood and secure it with the prop rod. The 12V battery sits in the engine bay on the driver’s side front corner, with a plastic cover or bracket over it on some trims.
- Disconnect the negative (–) terminal first. Using a 10mm wrench, loosen the clamp on the black negative cable and lift it off the battery post. Tuck it safely away from the battery so it can’t spring back into contact.
- Disconnect the positive (+) terminal. Loosen the clamp on the red positive cable and remove it. Be extra careful not to let your wrench bridge between the positive terminal and any bare metal on the car.
- Remove the hold‑down bracket. Depending on your bZ4X build, there will be a cross‑bar or side clamp held by 10mm or 12mm bolts. Remove the bolts and lift the bracket clear.
- Lift out the old battery. Batteries are heavy for their size, use two hands and lift straight up to avoid snagging wiring. Keep it upright to avoid any potential acid spill.
- Compare new and old batteries. Before dropping the new battery in, verify that the case size, terminal orientation, and specs match. The positive and negative posts must be in the same positions so cables reach naturally without strain.
- Install the new battery and secure it. Place the new battery in the tray with the same orientation as the original. Reinstall the hold‑down bracket and snug the bolts so the battery can’t move, but don’t overtighten and warp the case.
- Reconnect the positive (+) terminal. Slide the red cable clamp onto the positive post first and tighten until you can’t twist the clamp by hand. A slightly loose connection can lead to no‑start symptoms and heat buildup.
- Reconnect the negative (–) terminal. Attach the black cable clamp to the negative post and tighten. Again, snug, not gorilla‑tight. Reinstall any plastic covers over the terminals.
- Double‑check everything, then start the car. Make sure no tools are left in the engine bay, then close the hood. Sit in the driver’s seat, press the brake, and press the Start button. You should see the READY indicator and normal startup sequence. Ignore one‑time warning lights that clear after a short drive as modules relearn voltages.
Pro tip: keep the radio code and presets handy
What to do after installing the new 12V battery
Once the new 12V battery is in and the car starts normally, you’re not completely done. A few quick checks will help you catch issues early and confirm that the bZ4X’s charging system is doing its job.
Post‑replacement checks for your bZ4X
A few minutes now can save you another no‑start later.
Verify charging voltage
With the car in READY mode, use a multimeter at the 12V battery terminals. You should typically see around 13.5–14.5 volts, indicating the DC‑to‑DC converter is charging the battery.
Clear old warnings
Some stored error messages may linger after a deep discharge. If warnings don’t clear after a short drive, have a dealer or independent EV shop scan for fault codes.
Monitor over a few days
Pay attention to wake‑up behavior for the first week. If the car struggles to start again after sitting only a couple of days, there may be a parasitic drain or software issue, not just a bad battery.
How to prevent future 12V battery failures on your bZ4X
Early‑production bZ4X models developed a reputation for 12‑volt batteries going flat after sitting for several days, sometimes linked to connectivity and app‑related wake‑ups. You can’t redesign Toyota’s charging logic at home, but you can stack the odds in your favor.
Habits that help your bZ4X’s 12V battery last longer
Drive or “READY” the car regularly
If possible, take the bZ4X out or leave it in READY mode long enough for the DC‑to‑DC converter to top off the 12V battery at least once or twice a week, especially in cold climates.
Avoid long ACC-only sessions
Using accessories with the car in ACC mode (like running the fan or audio while parked) can draw heavily on the 12V battery without robust charging. If you’ll be sitting for a while, put the car in READY instead.
Be thoughtful with third‑party devices
Dash cams, OBD dongles, and always‑connected trackers can keep the 12V system awake. Use parking‑mode timers or switched‑power connections so they don’t run 24/7.
Watch the mobile app behavior
Some owners have reported better 12V life after changing notification settings, reducing remote‑access polling, or temporarily removing the vehicle from their account when storing it for weeks.
Use a smart maintainer for long storage
If you’re leaving the bZ4X parked for several weeks, ask your dealer whether connecting a low‑amp smart maintainer to the 12V battery is appropriate for your situation.
When repeat failures point to a deeper issue
12V battery issues when buying a used bZ4X
If you’re shopping used, the bZ4X’s 12‑volt history is worth a closer look. A tired or repeatedly drained 12V battery is annoying at best, and at worst it’s a clue that the car has been sitting for long stretches or has unresolved software or charging‑system quirks.
Questions to ask the seller or dealer
- Has the 12V battery ever been replaced? If so, when, and with what brand?
- Any history of no‑start or “dead” episodes? Ask specifically about events after the car sat for a few days.
- Any paperwork for TSBs or software updates? Documentation that 12V issues were addressed is a positive sign.
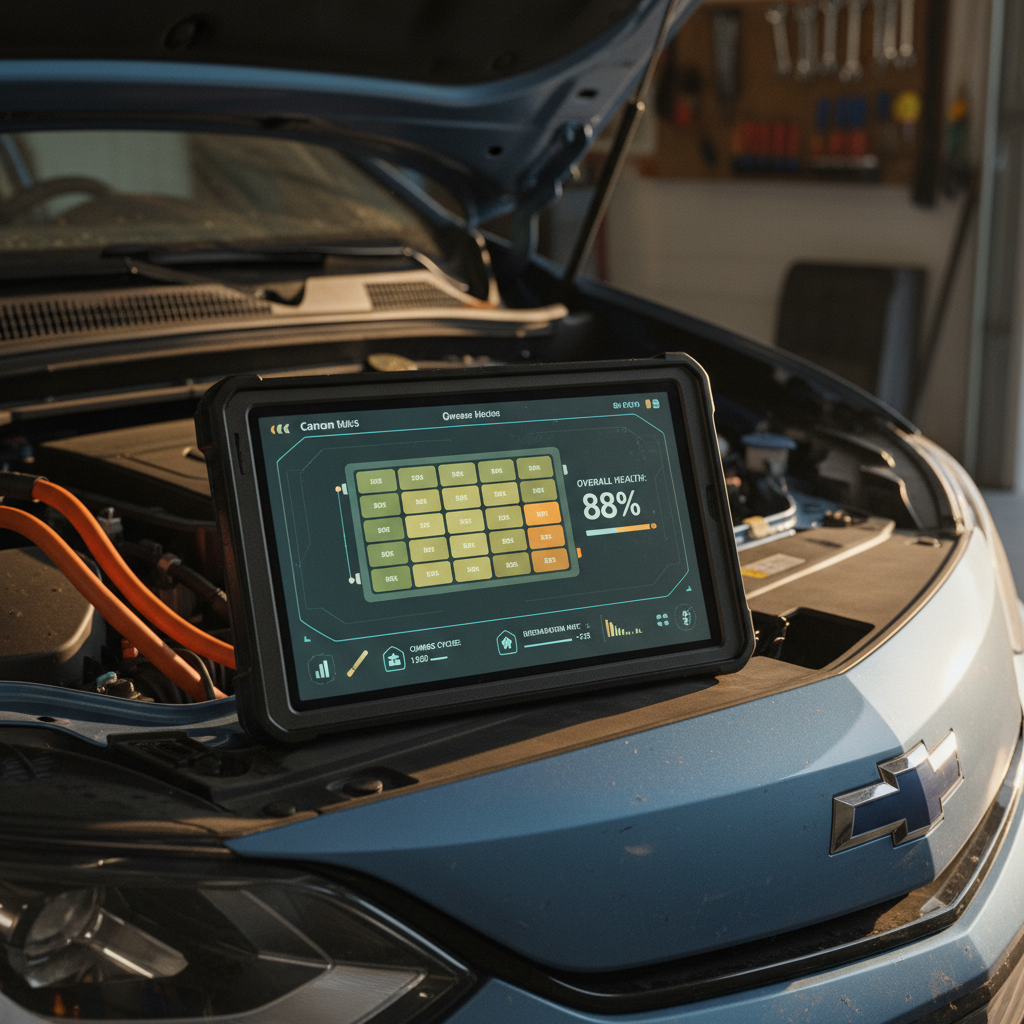
How Recharged approaches bZ4X battery health
On Recharged, every used bZ4X listing includes a Recharged Score Report with verified high‑voltage battery health and a review of key reliability trouble spots owners talk about most, including 12V behavior. Our EV specialists can walk you through what to expect, how to budget for wear items like the auxiliary battery, and whether a particular car’s history is cause for concern.
FAQ: Toyota bZ4X 12V battery replacement
Frequently asked questions about bZ4X 12V batteries
Bottom line on bZ4X 12V battery replacement
The Toyota bZ4X’s 12‑volt auxiliary battery is a small component with outsized influence: when it quits, your otherwise healthy EV becomes a driveway ornament. The good news is that Toyota bZ4X 12V battery replacement is relatively affordable, uses off‑the‑shelf parts, and, if you’re comfortable with basic tools, can be handled at home in under an hour.
If you’d rather not turn a wrench, or you’re weighing whether a particular used bZ4X is worth your money, that’s where Recharged can help. Every vehicle we sell comes with a Recharged Score Report that shines a light on both the high‑voltage pack and everyday ownership issues like 12V behavior, so you can buy confidently, finance easily, trade in your current car, and have your EV delivered to your driveway, without surprises.