The Volkswagen ID. Buzz is a 91 kWh, three-row rolling living room. It deserves better than sipping power from a tired 120‑volt outlet. If you actually want to use this van for family duty, road trips, or ride‑share runs, choosing the best home charger for your VW ID. Buzz moves from “nice to have” to “mandatory infrastructure.”
Good news for Buzz owners
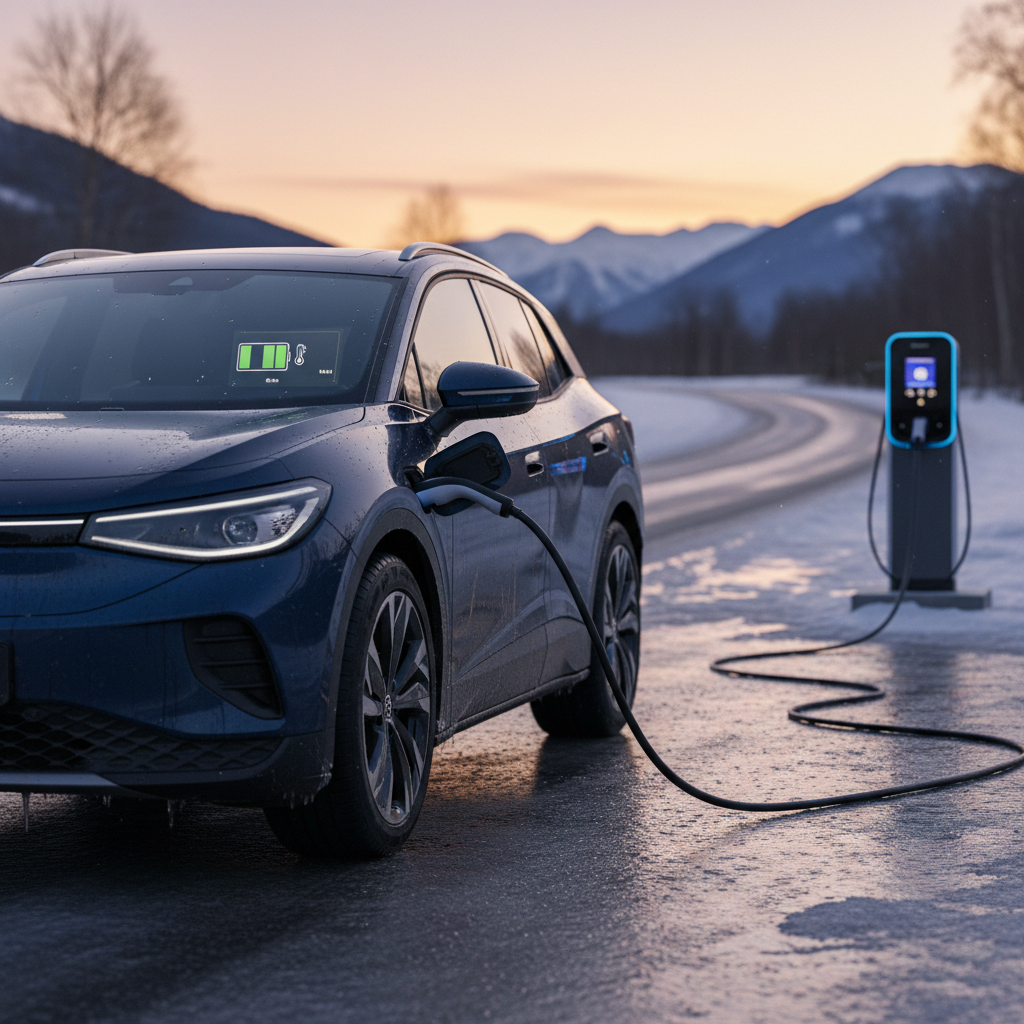
Why home charging matters for your ID. Buzz
- The ID. Buzz carries a large ~91 kWh battery, so Level 1 (120 V) charging can take three to four days to go from low to full, fine in a pinch, miserable as a lifestyle.
- Level 2 (240 V) home charging at 9–11 kW turns that into roughly 7–9 hours from low to full, depending on how far you drive before plugging in.
- A home charger lets you wake up every morning with 200–260 miles of range instead of planning your week around public stations.
- Charging at home is typically the cheapest way to feed a big battery, often the equivalent of paying well under $2 per gallon of gas at off‑peak electric rates.
Think in miles per hour, not just kilowatts
ID. Buzz charging basics: what your van can actually use
How the ID. Buzz charges
Understanding your van’s onboard hardware makes picking a home charger much easier.
Battery & onboard charger
The U.S.‑spec ID. Buzz uses a battery around 91 kWh (86 kWh usable). The onboard AC charger is rated at up to 11 kW, which is your cap for home and destination charging.
Level 1 (120 V)
Using the portable cord on a household outlet gives roughly 1–1.5 kW. You’re looking at single‑digit miles of range per hour. It works for very light use or while you’re waiting for a proper install, not as your main plan.
Level 2 (240 V)
A 240 V circuit at 32–48 amps will feed your Buzz 7–11 kW. That’s the sweet spot: full overnight charging, predictable range every morning, and much less battery stress than constant DC fast charging.
Don’t chase more than 11 kW
How much power do you really need?
Typical ID. Buzz home charging scenarios
For most ID. Buzz owners in the U.S., the practical target is a 40‑ or 48‑amp Level 2 charger. That gives you fast enough overnight charging without pushing your home’s electrical service to the brink. On a dedicated 50‑ or 60‑amp circuit, a 40–48 amp charger will comfortably feed the Buzz 9–11 kW for hours at a time.
When 32 amps is enough
Best home charger types for the VW ID. Buzz
1. Wall‑mounted Level 2 charger (hard‑wired)
This is the clean, permanent solution most ID. Buzz owners end up with.
- Pros: Slim profile, no outlet dangling in mid‑air, often supports 40–48 amps, weather‑rated for outdoor driveways.
- Best if: You own your home, park in the same spot every night, and plan to keep an EV for years.
2. Plug‑in Level 2 charger (NEMA 14‑50 or 6‑50)
Looks like a heavy‑duty cord with a wall hook. Plugs into a 240 V receptacle, like an electric range or RV pedestal.
- Pros: Easy to replace or take with you if you move; no hard‑wiring required; still supports 32–40 amps on the right circuit.
- Best if: You rent, or you want the option to unplug and travel with the charger.
A simple starting spec

Key features to look for in an ID. Buzz home charger
What separates an okay charger from the right one
The ID. Buzz is simple to plug in, choosing the right box on the wall is the tricky part.
Connector & cable quality
The ID. Buzz uses the North American standard connector for Level 2 (J1772 in older units, NACS on newer hardware as the market transitions). Look for:
- A flexible 20–25 ft cable (easier to reach all three rows of parking).
- Sturdy connector with a positive latch feel.
Smart features & app
Smart chargers let you:
- Schedule charging to off‑peak hours.
- Track energy use per month or per vehicle.
- Adjust amps down if your panel is marginal.
Not mandatory, but very nice to live with, especially if your utility offers time‑of‑use rates.
Safety, warranty, and support
Your charger will be moving 9–11 kW continuously. Prioritize:
- UL or ETL safety listing.
- At least a 3‑year warranty.
- Clear support and replacement options.
ID. Buzz home‑charger checklist
1. Match or exceed 40 amps output
Choose a charger capable of at least 40 amps so you’re not bottlenecking the ID. Buzz’s 11 kW onboard charger. If your electrician says your panel can comfortably handle 60 amps, a 48‑amp unit future‑proofs you further.
2. Confirm cable length and mounting location
Measure from your panel to the parking spot and add slack. With a long van like the ID. Buzz, a 25‑foot cable makes life easier if you ever park nose‑in or back‑in differently.
3. Look for NEMA 3R or better weather rating
Even if you’re installing in a garage, a weather‑rated enclosure protects against humidity, dust, and the occasional pressure‑washer incident.
4. Decide if smart features matter to you
If you like data and want automatic off‑peak charging, pick a Wi‑Fi‑enabled unit with a solid app. If you just want to plug in and forget it, a simpler non‑connected charger is fine, and often cheaper.
5. Check compatibility with other EVs
If you or a future buyer will have multiple EV brands sharing the charger, make sure the unit plays nicely with J1772 and, as the market shifts, NACS hardware or adapters.
6. Verify utility or rebate program eligibility
Many utilities require specific safety listings or smart‑charger capabilities for rebates. A quick check of your utility’s EV page can save you hundreds of dollars.
Don’t DIY the high‑voltage bits
Installation, outlets, and safety
Common home‑charging electrical setups for an ID. Buzz
What your electrician will actually be talking about when they start saying numbers like “50‑amp breaker” and “NEMA 14‑50.”
| Setup | Typical breaker | Max charger amps* | Pros | Watch‑outs |
|---|---|---|---|---|
| Existing dryer/oven plug (NEMA 14‑30/14‑50) | 30–50 A | 24–40 A | Lower install cost if outlet is conveniently located; easy plug‑in chargers. | May not be in the right place; sharing with appliances can be awkward. |
| New NEMA 14‑50 outlet in garage/driveway | 50 A | 40 A | Flexible (can use for RVs or other EVs); widely supported by plug‑in chargers. | Requires space in panel and electrician labor; outdoor runs add cost. |
| Hard‑wired 48 A wallbox | 60 A | 48 A | Cleanest, permanent solution; maxes out Buzz’s AC charging capability on typical residential voltage. | Not easily moveable; slightly higher install cost; dedicated to EV use only. |
Exact costs vary by region and panel condition, but this table gives you the general landscape.
On a 50‑amp circuit, the National Electrical Code limits EV chargers (continuous loads) to 40 amps. A 60‑amp circuit supports a 48‑amp charger. That’s why you’ll often see 40 A plug‑in units and 48 A hard‑wired wallboxes at the top of the market for home use.
Panel capacity matters more than hype
Example home-charger setups for different ID. Buzz owners
Match your charger to how you actually use the van
Daily commuter & school‑run family
Install a 40‑amp Level 2 charger on a 50‑amp circuit near your regular parking spot.
Use the charger’s app to schedule charging after 9–10 p.m. if your utility has cheaper off‑peak rates.
Set the ID. Buzz to charge to 70–80% on weekdays to reduce long‑term battery stress, reserving 100% charges for road trips.
Road‑trip and camping crew
Aim for a 48‑amp hard‑wired charger on a 60‑amp circuit so you can recover big mileage days overnight.
Choose a charger with a long, flexible cable that can reach the van even when you’re loaded with bikes or a trailer in the driveway.
Consider a unit with load‑sharing or future expansion if you might add a second EV later.
Urban apartment or rental situation
If you can’t install a wallbox, look into shared Level 2 chargers in your building’s garage and pair them with occasional DC fast charging for long trips.
A portable Level 2 charger that plugs into an existing 240 V outlet at work or a friend’s house can be a useful Plan B.
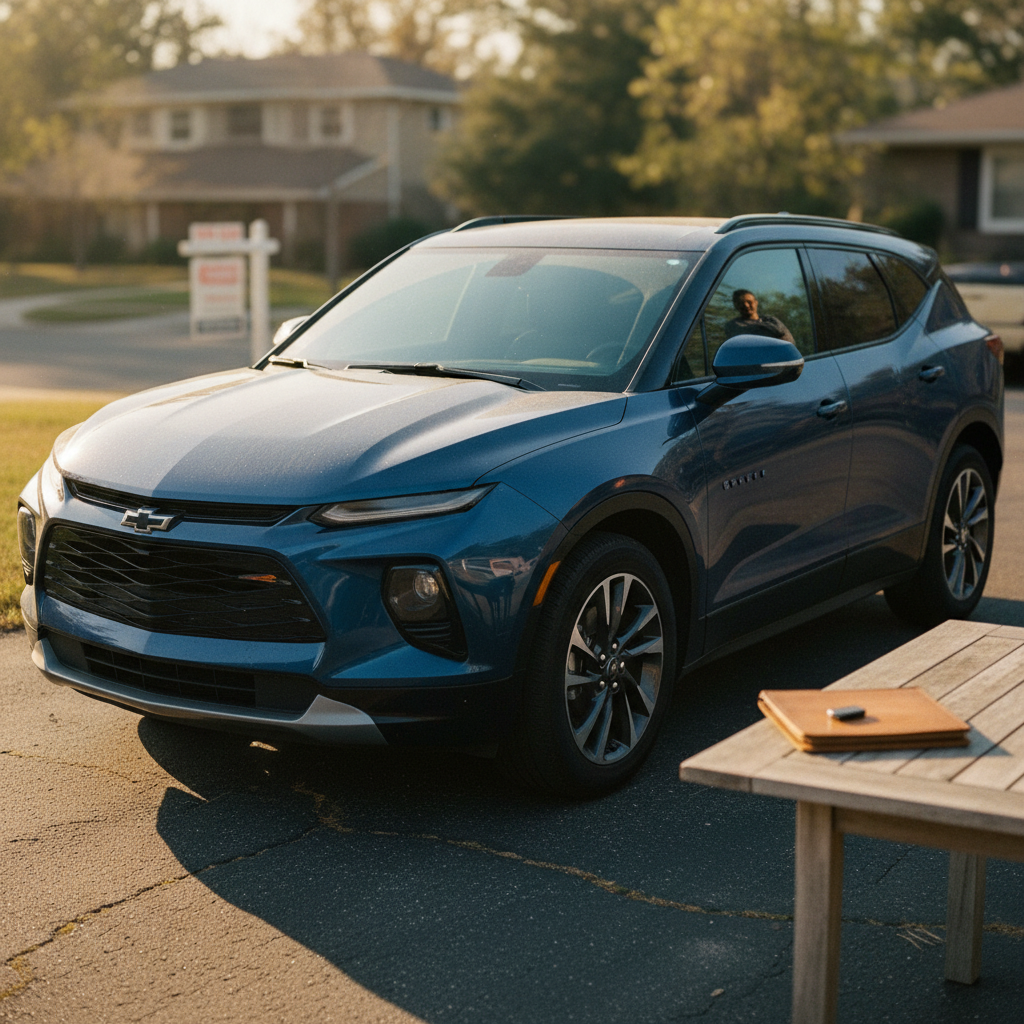
If you’re shopping used, ask sellers how and where the van was charged, consistent Level 2 home charging is a green flag.
Small business / shuttle use
Work with an electrician to install one or more 48‑amp wallboxes in a fenced lot or loading area.
Use smart‑charger software to track energy cost per vehicle or per route.
Consider redundancy, two 40 A chargers are often better than a single oversized unit if the van is mission‑critical.
How a home charger fits into your total ownership cost
Upfront costs
- Charger hardware: Many solid 40–48 A units land in the $400–$800 range.
- Installation: Simple installs near the panel might be a few hundred dollars; panel upgrades, long conduit runs, or driveway pedestals can push that toward or above a couple thousand.
- Rebates: Utilities and local programs often offset $200–$1,000 if you pick an approved model and share charging data.
Ongoing savings
- Charging at home is almost always cheaper per mile than public DC fast charging, especially on off‑peak time‑of‑use plans.
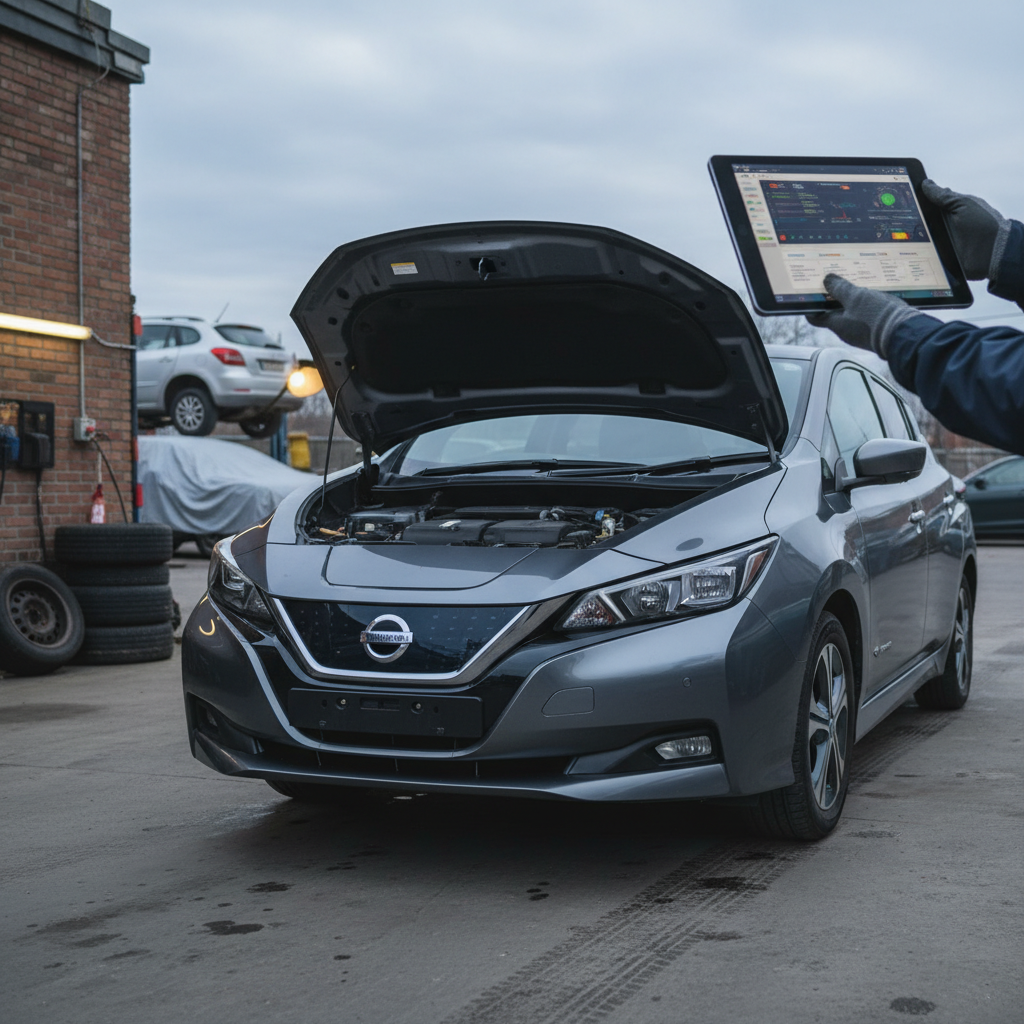
- Your battery will age more gracefully if most energy comes from Level 2 instead of frequent high‑power DC sessions.
- For used‑EV shoppers, seeing a professionally installed home charger and healthy battery report signals a van that’s been treated well.
Where Recharged fits in
FAQ: Volkswagen ID. Buzz home charging
Frequently asked questions
Bottom line: choosing the best home charger for your ID. Buzz
A 91 kWh family bus that can haul kids, dogs, and Ikea flat‑packs deserves a charging setup that keeps up. For most owners, the Volkswagen ID. Buzz best home charger is a 40–48 amp, weather‑rated Level 2 unit on a dedicated 240 V circuit, with a 20–25 ft cable and proven safety credentials. Smart features, pretty enclosures, and brand labels are all secondary to those fundamentals.
If you’re in the market for a used ID. Buzz, or you’re planning a garage makeover around your first EV, Recharged can help you line up the vehicle, the battery‑health data, and the home‑charging plan in one shot. Nail those three, and the Buzz stops being a quirky conversation piece and starts being the most useful vehicle your household has ever owned.