A dying 12‑volt battery in a Tesla can turn a normal day into a no‑start headache. If you’ve seen a “Low voltage battery” warning or your car is acting strangely, you might be wondering whether a Tesla 12V battery replacement DIY is realistic, or a recipe for trouble. This guide walks you through what the 12V battery does, how to recognize failure, and what a careful owner can (and shouldn’t) do at home.
Quick Take
Why Teslas Still Use a 12V Battery
Every Tesla has a high‑voltage traction battery to move the car, but it still relies on a separate 12‑volt auxiliary battery, either a traditional lead‑acid unit or, in many newer cars, a small lithium‑ion pack. That 12V system powers critical low‑voltage components like computers, lights, door latches, HVAC controls, airbags, and the contactors that allow the high‑voltage pack to even turn on. If the 12V battery is weak or dead, your Tesla can’t wake up, even if the big battery still shows plenty of range.
- Powers control modules, safety systems, and locking mechanisms
- Keeps key systems alive when the high‑voltage pack is asleep
- Acts as a buffer when the car is parked for long periods
- Allows service work on low‑voltage systems without accessing high‑voltage components
Newer Teslas Use 16V/Lithium Packs
Signs Your Tesla 12V Battery Is Failing
Teslas are fairly good at warning you before the 12V battery completely gives up. Ignoring those warnings is where owners get into trouble, once the low‑voltage system collapses, the car may not unlock, shift into gear, or even open the frunk without special procedures.
Common Symptoms of a Weak Tesla 12V Battery
Watch for these clues before you’re stranded
On‑screen Warnings
- “Low voltage battery” or similar pop‑ups
- Repeated alerts that don’t clear after charging
- Service menu flagging 12V battery service needed
Electrical Oddities
- Random reboots of the center screen
- Slow boot‑up when you open the door
- Power windows or locks acting sluggish
Access & Starting Issues
- Car won’t “wake up” from the app
- Door handles or latches not responding
- Car stuck in Park or won’t go into Drive
Don’t Ignore the First Warning
Should You Do a Tesla 12V Battery Replacement DIY?
When DIY Makes Sense
- You’re comfortable removing trim panels and using a torque wrench.
- Your car is out of warranty, or 12V batteries are not covered.
- You have a safe garage or driveway and time to work carefully.
- Nearest Tesla Service Center is far away or booked out.
When to Let Tesla or an EV Shop Handle It
- Your car is still under comprehensive warranty.
- You’re not used to working around automotive electrical systems.
- You don’t have a way to keep the 12V system powered while swapping batteries.
- You’re uncomfortable removing frunk tubs or interior panels.
Good News for Used Tesla Owners
Ready to find your next EV?
Browse VehiclesWhat You’ll Need for a DIY 12V Battery Replacement
Precise tools and hardware can vary by model and year, but most Tesla 12V battery replacement DIY jobs call for a similar basic toolkit. Here’s what most owners will want on hand before they pop the frunk.
Essential Tools & Supplies
Correct Replacement 12V Battery
Match your Tesla’s exact part type, lead‑acid AGM vs low‑voltage lithium pack. Use the owner’s manual, online parts catalog, or your VIN to confirm compatibility before you buy.
Socket Set & Ratchet
Metric sockets (commonly 8mm, 10mm, 13mm) and a small extension handle most clamps and brackets around the battery and frunk tub.
Trim‑Removal Tools
Plastic pry tools help you remove frunk trim and clips without scratching paint or breaking fragile fasteners.
Torque Wrench (Low Range)
Prevents over‑tightening battery clamps or brackets. Tight enough to be secure, not so tight you strip studs or crack plastic.
Safety Gear
At minimum: insulated gloves and eye protection. A LED work light also makes it easier to see into tight spaces around the frunk.
12V Memory Saver or Support Power (Advanced)
Some owners use an external 12V supply through designated posts to keep the car’s low‑voltage system alive during the swap. This reduces the risk of faults but requires extra care.
High‑Voltage Battery = Look, Don’t Touch
Model‑by‑Model 12V Battery Locations
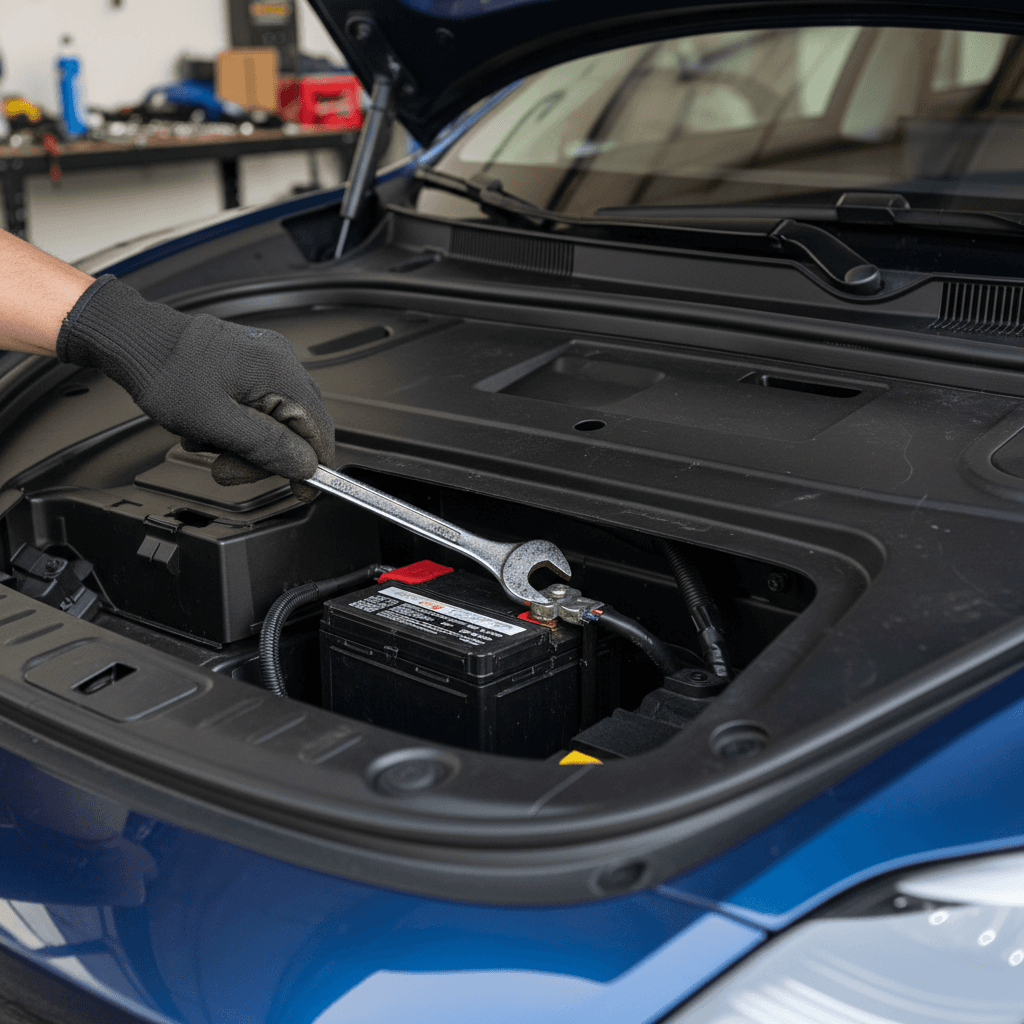
Before you can swap a Tesla 12V battery, you have to find it, and Tesla doesn’t use a one‑size‑fits‑all layout. Exact locations and access procedures evolved across generations, but this high‑level guide will help you understand what you’re looking at.
Where the 12V Battery Lives in Different Tesla Models
General guidance only, always confirm using the correct procedure for your model year.
| Model | Typical 12V Battery Location | Access Notes |
|---|---|---|
| Model 3 (earlier years) | Under front trunk trim toward the firewall | Remove frunk liner, some plastic covers, and possibly cross‑brace brackets. |
| Model 3 / Y (with low‑voltage lithium pack) | Compact pack near front of vehicle, still under frunk area | Similar frunk‑liner removal, but the battery is a sealed module with unique fasteners. |
| Model Y | In the front compartment beneath frunk tub | Tub and trim removal required; watch for attached wiring and seals. |
| Model S (earlier generations) | Front trunk area or under plastic cowl near windshield | More trim and cowl pieces to remove; tight working room near HVAC components. |
| Model S / X (newer refresh) | Low‑voltage pack in front compartment | Access is similar to Model 3/Y lithium packs; service procedures are more involved. |
Layouts vary by year and refresh. Use your owner’s manual or an up‑to‑date service guide to double‑check access steps.
Why Access Matters More Than the Swap
Step‑by‑Step Tesla 12V Battery Replacement DIY (Overview)
Procedures differ by model and year, and Tesla updates them periodically. Still, most DIY Tesla 12V battery jobs follow a similar arc. Think of this as an overview, not a substitute for the official instructions for your specific VIN.
- Confirm the battery type. Use your VIN or owner’s manual to verify whether your car uses a lead‑acid 12V or a newer lithium low‑voltage pack, and order the correct part.
- Park safely and power down. Park on level ground, chock a wheel if needed, engage Park, and avoid doing this in extreme heat or rain. Turn off climate control and accessories, and let the car go to sleep.
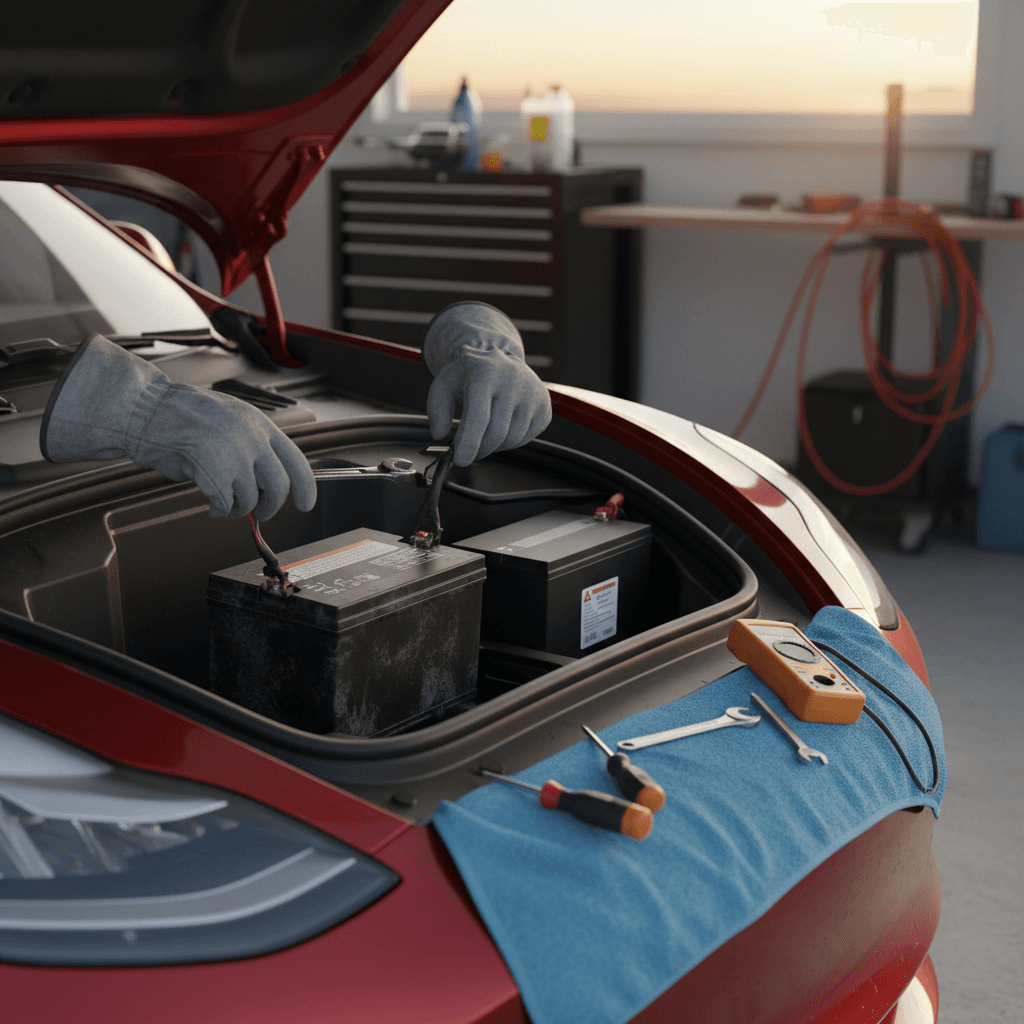
- Open frunk and access panels. Open the front trunk, remove the cargo liner, and carefully release plastic clips or rubber seals to expose the battery area. Photograph the layout before you unplug anything.
- Disconnect negative, then positive. Loosen and remove the negative (ground) terminal first, then the positive. This reduces the chance of accidental short circuits with your tools.
- Remove hold‑down brackets. Unbolt or unclip any brackets securing the battery or low‑voltage pack. Take note of orientation, wiring routes, and vent tubes (on lead‑acid units).
- Swap in the new battery. Place the new battery or pack in the same orientation. Reinstall brackets, reconnect positive terminal first, then negative, tightening to proper spec.
- Re‑assemble trim and seals. Reinstall the frunk tub, weather seals, clips, and any cross‑braces or covers. Make sure nothing pinches wiring and that seals sit flat to prevent water leaks.
- Wake the car and check for alerts. Open a door, power up the screen, and verify that low‑voltage warnings have cleared. Check lights, locks, and other 12V systems before you drive off.
Use Your Phone as a Memory Aid
Safety Risks and Common Mistakes to Avoid
A Tesla 12V battery replacement isn’t as intimidating as dropping a high‑voltage pack, but it’s still a job where mistakes can get expensive, or unsafe. Here are the pitfalls owners most often run into.
Avoid These Tesla 12V DIY Mistakes
Most problems come from rushing or guessing
Damaging Trim & Seals
- Yanking instead of gently prying clips
- Forgetting to reinstall seals, leading to water leaks
- Mixing up different‑length fasteners
Electrical & Safety Errors
- Shorting the positive terminal with a tool
- Over‑tightening clamps or cracking the battery case
- Working near high‑voltage components without understanding what’s safe to touch
Using the Wrong Battery
- Installing a non‑Tesla‑spec battery with incorrect capacity
- Mixing chemistries (e.g., low‑voltage lithium vs lead‑acid) without proper hardware
- Buying a cheap, no‑name replacement with questionable quality
Ignoring Fault Codes
- Driving with persistent 12V system alerts
- Never checking for software updates or service bulletins
- Skipping a test drive after the swap
If You Smell Burning or See Smoke, Stop
How Much Does a Tesla 12V Battery Cost?
Costs vary by model, battery type, and whether you’re buying from Tesla or an aftermarket source. Lead‑acid AGM units are generally cheaper than the newer compact lithium low‑voltage packs, and professional labor can easily double the bill.
Typical Tesla 12V Battery Cost Range
Check Warranty & Service History First
After the Swap: Calibration, Codes, and Test Drive
Once your new 12V battery is in place and everything is bolted back together, don’t just slam the frunk and call it a day. Give the car a chance to stabilize, then confirm that all the systems that depend on low‑voltage power are happy.
- Wake the car and verify that low‑voltage or 12V warnings have cleared on the display.
- Check exterior lights, horn, windows, locks, and powered trunk or charge‑port functions.
- Confirm that your phone key, key card, or fob connects and unlocks normally.
- Take a short drive, listening for new rattles from the frunk area that might indicate loose trim or hardware.
- If any persistent alerts remain, capture screenshots and consult Tesla service or an EV‑savvy shop.
Use the App as a Quick Health Check
How 12V Battery Health Affects Used Tesla Buyers
If you’re shopping for a used Tesla, the state of the 12V battery is a small but telling clue about how the previous owner cared for the car. A neglected 12V system can cause nuisance issues that sour the ownership experience, even when the main battery is in great shape.
Questions to Ask the Seller
- When was the 12V battery or low‑voltage pack last replaced?
- Any recent low‑voltage or “vehicle may not restart” warnings?
- Was the replacement done at Tesla or an independent shop?
- Are there receipts or service records to document the work?
Why Recharged Cares About 12V Health
At Recharged, every vehicle goes through a comprehensive evaluation, including a Recharged Score report that looks at high‑voltage battery health, charging behavior, and overall electrical condition. If a car shows signs of a weak 12V system, we address it before listing so you’re not hit with surprise warnings right after delivery.
Tesla 12V Battery Replacement DIY FAQ
Frequently Asked Questions
Bottom Line on DIY Tesla 12V Battery Replacement
A Tesla 12V battery replacement DIY isn’t the most glamorous job in EV ownership, but it’s one of the more realistic projects for a mechanically inclined owner. If you’re methodical, respect the limits of what belongs in your hands versus a pro’s, and follow the right procedure for your model, you can save a meaningful amount of money while keeping your car reliable.
If you’d rather spend weekends driving than wrenching, that’s perfectly reasonable too. Whether you’re maintaining the Tesla you already own or considering a used Tesla from a trusted source like Recharged, paying attention to that small but essential 12V battery is an inexpensive way to avoid big inconveniences down the road.