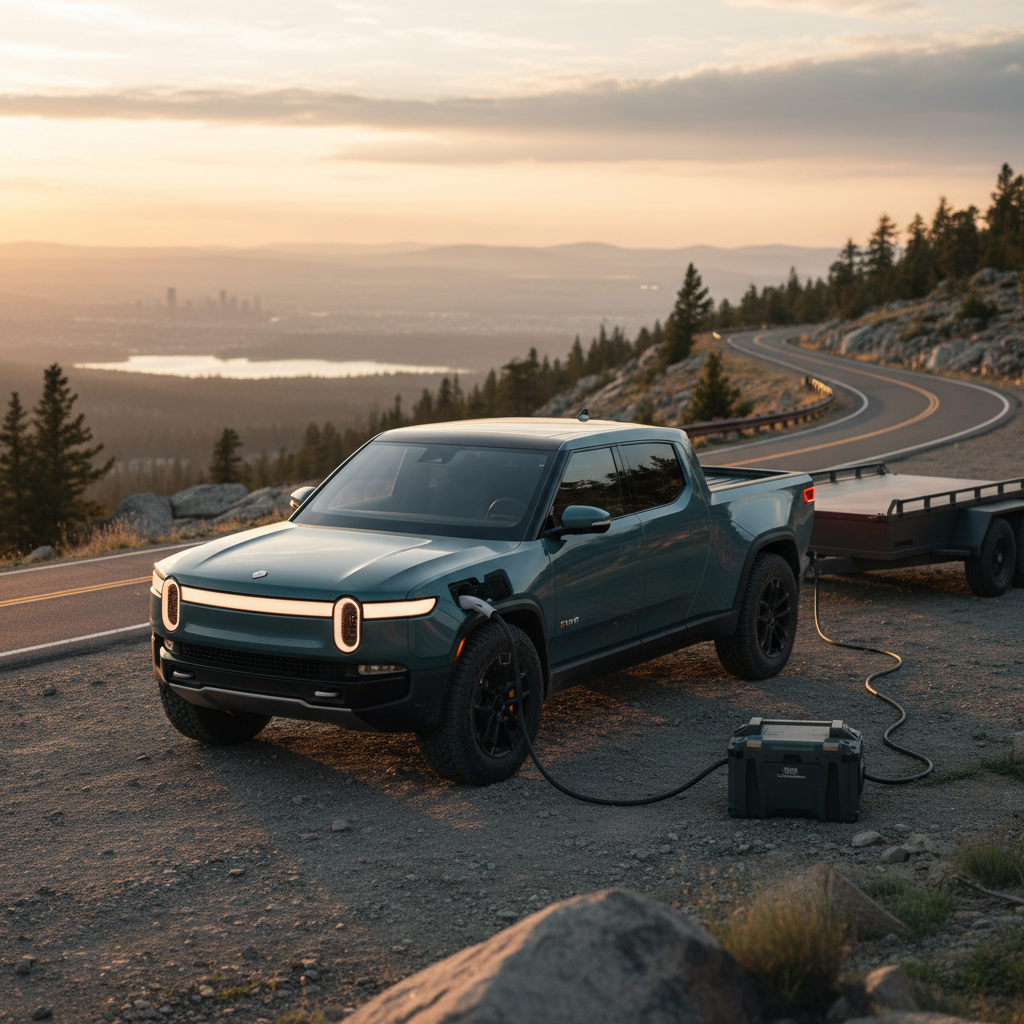
You don’t buy a Rivian R1T just to sit in traffic. This truck was built around the idea of campfires, trailheads, and waking up somewhere with no cell signal. But turning an R1T into a comfortable, efficient camping rig takes more than tossing a sleeping bag in the bed. This Rivian R1T camping setup guide walks you through tents, power, storage, kitchens, and real‑world range so your next trip feels intentional, not improvised.
About this guide
Why the Rivian R1T Makes Sense for Camping
What the R1T Does Better Than a Gas Truck at Camp
Four built‑in advantages you should design your setup around
Silent overnight power
Self‑leveling suspension
Hidden storage
Cleaner footprint
The trick is to build your camping setup around these strengths instead of fighting the truck’s quirks, like a shorter bed than full‑size pickups and the realities of EV range on remote roads.
Know Your R1T Cargo Space and Dimensions
Key R1T Cargo Numbers for Camping
Think of the R1T as three big storage zones: the bed for bulky items and sleeping setups, the gear tunnel for dense heavy gear and long items (tables, stoves, awning poles), and the frunk for soft goods you want clean and dry.
R1T Storage Zones and Best Uses for Camping
Quick reference for what belongs where when you pack for a trip.
| Zone | Approx. Volume / Size | Best For | Avoid Putting |
|---|---|---|---|
| Bed (under tonneau) | 54.1" L × 51.1" W | Tents, duffels, firewood, bulky coolers, bikes (with rack) | Loose small items that can roll around |
| Under‑bed bin | Deep well under rear of bed | Dirty gear, recovery kit, leveling blocks, wet straps | Anything you need access to every stop |
| Gear tunnel | ~11.7 cu ft, full‑width | Camp kitchen, tables, long cases, compact fridge | Loose groceries or fragile items |
| Frunk | ~11.1 cu ft | Bedding, clothing, food totes, camera gear | Fuel, dirty tools, anything that smells |
| Cabin | Seats, footwells, under‑seat | Day packs, valuables, pets, kids’ stuff | Wet or muddy gear that will mold |
Dial this in once and packing for future trips becomes much faster.
Pro tip: pre‑pack by zone
Choosing Your Main Sleeping Setup
Most R1T camping builds fall into three camps: bed sleeping, rooftop / bed‑rack tents, or ground tents that use the truck as a base camp. Each has trade‑offs in cost, setup time, and range impact.
R1T Sleeping Options Compared
Pick the style that matches how often and how far you camp.
1. Bed platform setup
2. Rooftop or bed‑rack tent
3. Ground tent base camp
Bed platform pros and cons
- Pros: Lowest cost, no extra wind drag, easy to heat or cool the cabin and bed area with the tailgate window open and Camp Mode.
- Cons: You lose cargo space while the bed is your bedroom, and crawling in and out gets old if you camp often.
- Build tip: Aim for a platform height just above the under‑bed bin so you keep that storage and still have enough headroom with the tonneau closed.
Rooftop / bed‑rack tent pros and cons
- Pros: Fast setup, better views, stays cleaner in mud, frees bed for bikes and cargo.
- Cons: Higher price, added weight, and some range penalty from extra drag, especially at highway speeds.
- Fit tip: Rivian’s branded tents are tuned to its crossbars and bed racks. If you go third‑party, make sure weight and mounting points are within spec.
Watch your payload
Power Management and Camp Mode
One of the R1T’s superpowers is behaving like a silent generator. Used wisely, you can run lights, fans, an electric cooler, and even an induction cooktop all weekend without worrying about a dead truck on Monday.
- Use Camp Mode from the center screen to level the suspension and keep the climate and outlets behaving predictably overnight.
- The 120V AC outlets in the bed are ideal for a fridge, induction cooktop, or charging camera gear. Bring a weather‑resistant power strip if you need more sockets.
- Heavy 120V use is most efficient when you’re already at a high state of charge at camp, not limping in at 8–10%.
- If you mostly power a fridge and lights, plug into the bed AC outlet and enable the setting to keep outlets active while parked.
- Configure “Camp Courtesy” in Camp Mode to shut off exterior lights and lock beeps so you’re not that person in a quiet campground.
Save your battery (and your sanity)
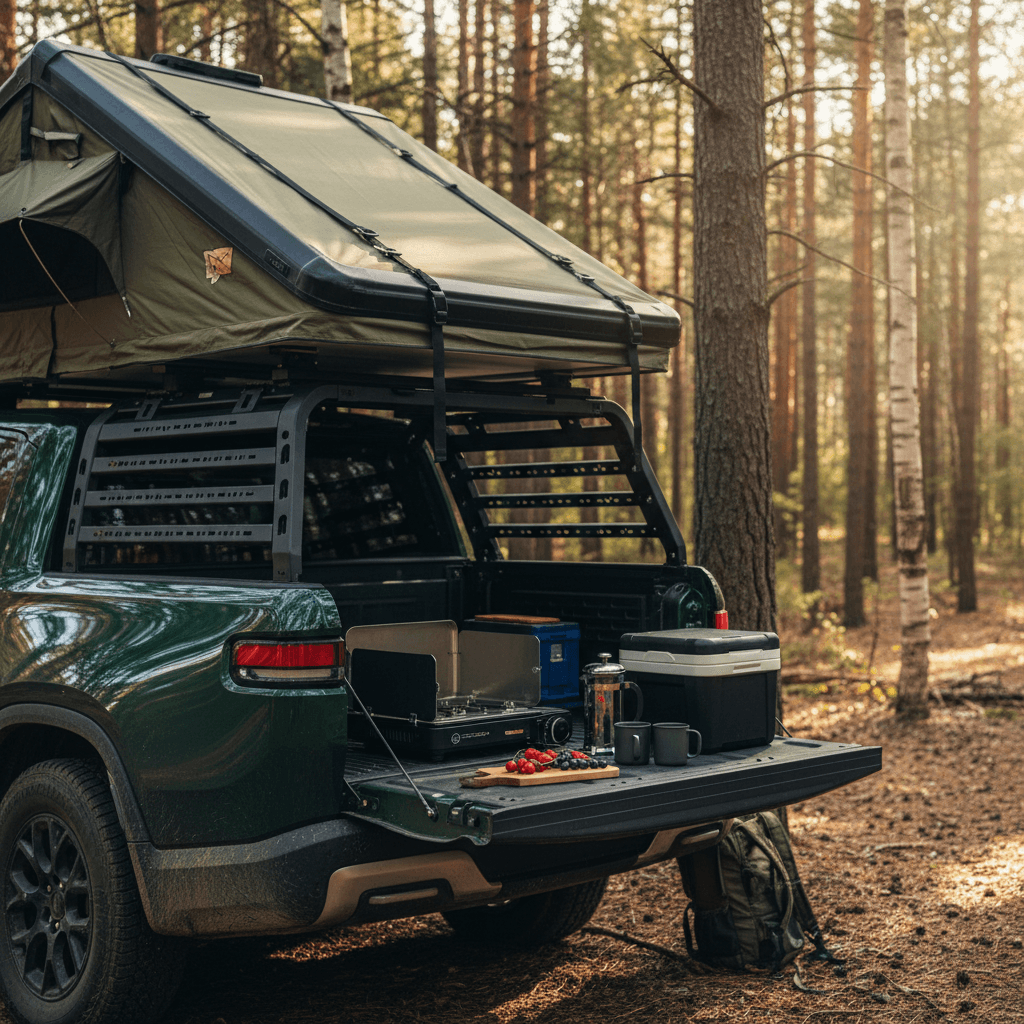
Kitchens, Coolers, and Food Storage
Rivian famously previewed a built‑in Gear Tunnel Camp Kitchen, then paused that product. Today, most R1T owners rely on a mix of portable induction cooktops, slide‑out kitchen boxes, or simple camp‑stove setups that live in the gear tunnel or bed.
Three Popular R1T Camp Kitchen Styles
From minimalist to “glamping chef.”
Compact tailgate kitchen
Slide‑out tunnel kitchen
Induction + electric cooler
If you lean heavily on electric cooking, design around the R1T’s 120V outlets and pack cookware that’s induction‑compatible. If you prefer propane, make sure your stove and fuel can travel safely in the bed or under‑bed bin and aren’t rattling around the gear tunnel.
Camp Kitchen Essentials That Work Well in an R1T
Compact nesting cook set
Look for pots, pans, and bowls that nest into a single bundle. It fits perfectly in the gear tunnel and keeps rattles down.
Dedicated kitchen tote
Keep utensils, spices, oil, trash bags, and cleaning gear in one labeled bin. When you grab that bin and a stove, you’re ready to cook.
Cooler or powered fridge
Hard‑sided coolers ride well in the bed; powered fridges work great in the gear tunnel or rear seat area if they can vent heat.
Gray‑water and trash plan
Bring collapsible basins and sealable trash bags so you’re not tempted to dump food waste in the woods.
Safety note: Gear tunnel and fuel
Organizing Gear: Bed, Gear Tunnel, Frunk
Most R1T camping horror stories aren’t about range, they’re about chaos. People throw everything in the bed, can’t find their headlamp at midnight, and swear they’ll never do it again. A simple system fixes that.
Bed: big, dirty, daily‑access gear
- Big cooler or fridge slide
- Firewood, water jugs, recovery boards
- Bikes or cargo boxes on bed rack
Gear tunnel: dense, organized gear
- Kitchen system and food totes
- Folding table and camp chairs
- Tool roll, air hoses, jack pads
Frunk & cabin: clean, soft goods
- Sleeping bags, pillows, extra layers
- Cameras, laptops, personal items
- Kid stuff, pet gear, snacks
Borrow from van‑life packing
Weather, Noise, and Comfort Upgrades
EVs make amazing base camps because climate control is so precise. But canvas, condensation, and campground noise don’t care what powers your truck. A few smart upgrades make the R1T feel more like a rolling cabin than a fancy tent stake.
- Mattress and bedding: The foam that ships with many rooftop tents is mediocre. Add a 2–3" topper or upgrade to a higher‑density pad, and use real sheets and a duvet instead of only sleeping bags for shoulder‑season trips.
- Ventilation and condensation: Crack windows slightly or use the tent’s vents, especially if you’re running heat at night. Battery‑powered fans are cheap and keep canvas from getting clammy.
- Bug and light control: Headlamp with red mode, small lanterns, and magnetic bug screens for the cab windows make a big difference in summer.
- Noise control: A small white‑noise fan or app masks campground and wind noise so you actually sleep.
Cold‑weather camping caution
Range Planning and Charging on Camping Trips
The thing that makes electric‑truck camping different is not how you sleep, it’s how you get there and back. Your camping setup changes drag and weight, which change your real‑world range.
How Your Camping Setup Affects R1T Range
Design your build with aerodynamics and weight in mind.
Aerodynamics (drag)
Vehicle weight
Simple Range Planning Rules of Thumb
Not hard numbers, just conservative habits that keep trips relaxing instead of math‑heavy.
| Scenario | Planning Target | Charging Strategy | Notes |
|---|---|---|---|
| No tent, light gear | Arrive at camp with 30–40% | Charge to 80–90% at last fast charger | Plenty of buffer for overnight power use. |
| Bed‑rack / rooftop tent | Plan on ~10–20% less highway range | Stop one Supercharger/DCFC earlier than usual | Wind and speed make a big difference here. |
| Cold‑weather mountain trip | Arrive with 50% if possible | Top off whenever it’s convenient | Snow, heat, and climbs all stack together. |
Always base your plan on recent owner reports and your own past trips with a similar setup.
Build a charging “spine” first
Step-by-Step R1T Camping Setup Checklist
Your First R1T Camping Setup in 10 Steps
1. Define your camping style
Do you go out three weekends a year, or live for multi‑week overlanding trips? Your answer decides whether a simple bed setup or a full rack‑and‑tent system makes sense.
2. Choose bed, rooftop, or ground tent
Pick ONE primary sleeping system first and live with it for a few trips before layering on complex add‑ons.
3. Measure and mock up
Measure the bed (length, width between wheel wells, height under the tonneau) and tape those dimensions on your garage floor. Mock up your platform or tent footprint there.
4. Build or buy the sleeping platform
For bed setups, build a low, sturdy deck with at least two cross braces and leave access to the under‑bed bin. Test with your actual mattress before painting or finishing.
5. Dial in your kitchen system
Start with a simple tote‑plus‑table setup. If you hate setting it up every time, that’s your sign to invest in a slide‑out or more permanent solution.
6. Assign every item a home
Decide what lives in the gear tunnel, bed, frunk, and cabin. Label totes so you can tell what’s what in the dark.
7. Test Camp Mode at home
In your driveway, practice enabling Camp Mode, adjusting leveling, turning outlets on, and using Camp Courtesy. Better to fumble at home than at a trailhead.
8. Do a shakedown night close to home
Spend a night in the truck within an hour of your house. Take notes on what you forgot, overpacked, or want to change.
9. Refine for weather and season
Add or remove insulation, bug screens, heaters, and fans based on the typical conditions where you actually camp.
10. Document your loadout
Keep a simple packing list on your phone. Before each trip, run down the list instead of rebuilding your brain from scratch.
FAQ: Rivian R1T Camping Setups
Frequently Asked Questions About R1T Camping
Bringing It All Together
A great Rivian R1T camping setup isn’t about bolting on every accessory in the catalog. It’s about knowing how you actually travel, then using the truck’s strengths, silent power, clever storage, self‑leveling suspension, to make that kind of trip easier and more comfortable.
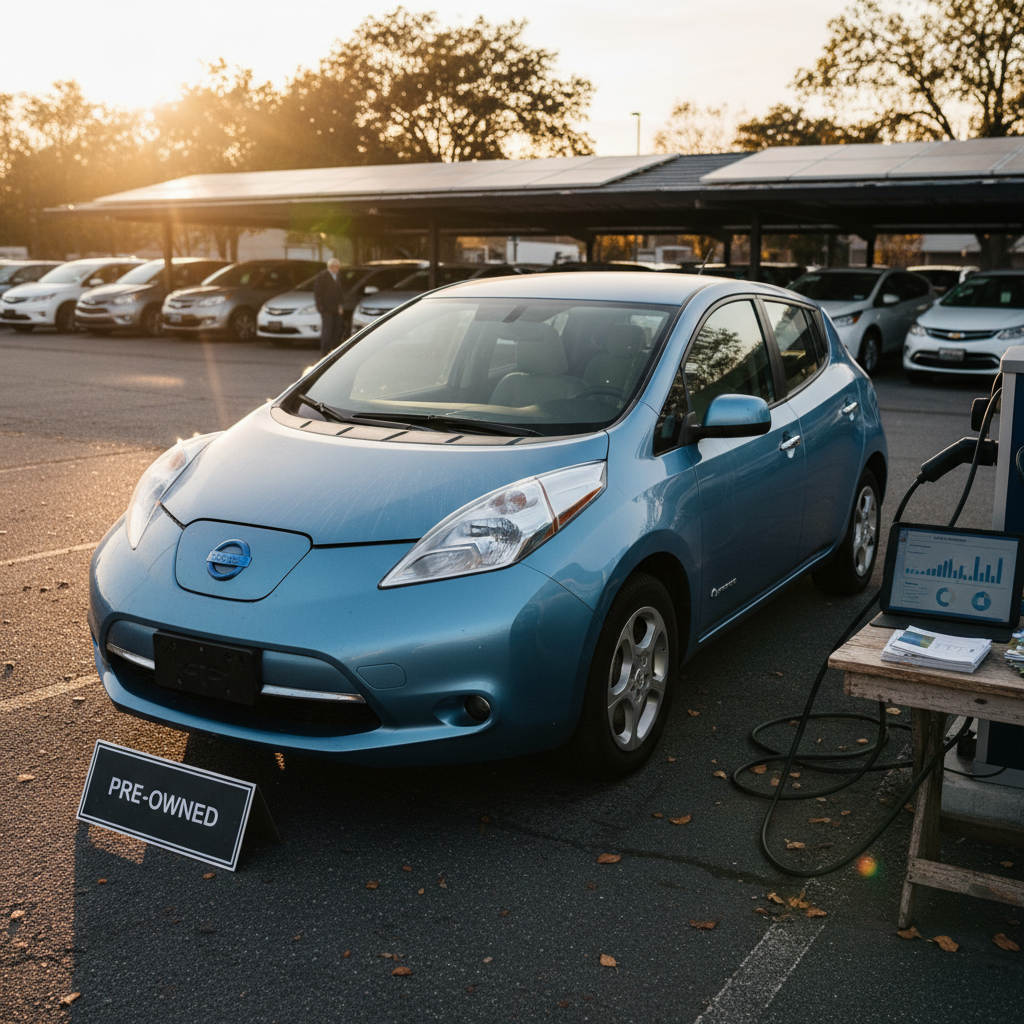
If you’re still in the dreaming stage, you don’t need a brand‑new truck to build this out. A well‑chosen used R1T with strong battery health can be the perfect foundation for years of road trips and trailhead overnights. Marketplaces like Recharged simplify that search with transparent battery diagnostics, fair pricing, and EV‑specialist support so you can focus on planning campsites, not deciphering spec sheets.
Start simple, refine after each trip, and let your kit evolve with the places you actually visit. The goal isn’t Instagram‑perfect camp porn; it’s a setup that lets you roll out of the city on a Friday, plug in a few times along the way, and wake up somewhere quiet with your favorite people, your favorite truck, and just enough gear to make it feel like home.