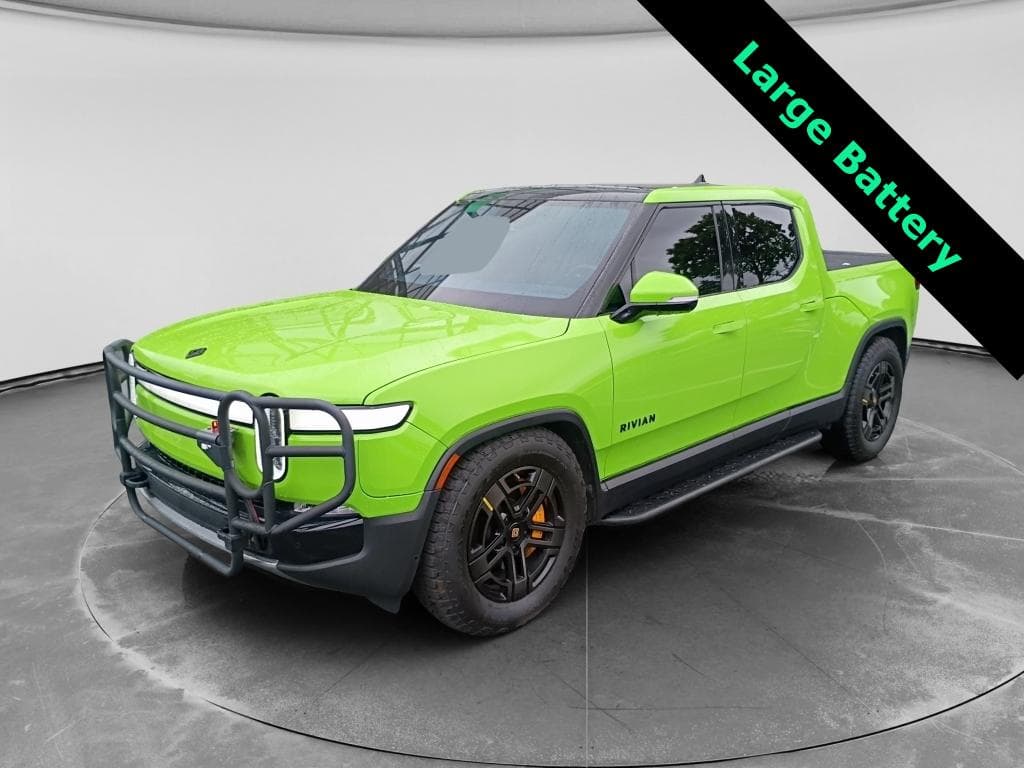
You don’t sell a Rivian R1T the way you sell an ordinary pickup. It’s a six‑figure‑when‑new electric adventure truck with a cult following, volatile resale values, and buyers who know exactly what they’re looking for. Choosing the best place to sell a Rivian R1T can be the difference between leaving thousands of dollars on the table and walking away feeling like you made a smart move.
What this guide covers
Why selling a Rivian R1T feels different
1. It’s an EV, and a truck
The R1T sits in two tricky markets at once: electric vehicles and pickup trucks. EV prices have been choppy, but electric pickups are still relatively rare, which can support values, if you sell in the right channel.
2. Resale has been a moving target
Early Rivians saw steep depreciation as more trucks hit the used market and EV demand cooled, but R1T prices have recently stabilized and, in some trims, bounced back. That makes timing and pricing more important than ever when you sell.
On top of that, buyers shopping an R1T usually care about things like battery health, software updates, and DC fast‑charging history, details many traditional dealers don’t understand or price correctly. That’s why the “where” matters as much as the “how much.”
Quick answer: Best place to sell a Rivian R1T
Best way to sell your Rivian R1T, by priority
Start with what matters most: money, speed, or simplicity.
Maximum money
Best choice: EV‑specialist marketplace or private sale.
- Buyers already understand Rivians and options.
- Battery health and specs are properly valued.
- Expect the strongest prices, with a bit more effort.
Fastest, low effort
Best choice: Online instant‑offer site or dealer trade‑in.
- Get an offer in minutes.
- Money or trade credit in a day or two.
- Lower price, but almost no hassle.
Best balance
Best choice: EV‑focused marketplace like Recharged.
- Specialized EV audience for your R1T.
- Help with pricing, photos, and paperwork.
- Often pays more than generic wholesalers, with far less DIY work than a private sale.
Where Recharged fits in
Ready to find your next EV?
Browse VehiclesHow much is my Rivian R1T worth in 2026?
Rivian R1T value snapshot for 2026 (ballpark)
Those are directional numbers, not quotes. Your truck’s actual value swings based on trim (Adventure vs. Launch), pack size, dual vs. quad‑motor, mileage, accessories, accident history, and, crucially, battery health. Before you even pick a selling channel, pull values from a few sources (pricing guides, online offers, and EV‑specific marketplaces) so you know the playing field.
Smart move before you list
Option 1: Rivian trade‑in or upgrade offers
If you’re moving from one Rivian to another, say, trading your R1T into an R1S or a future R2, Rivian’s own trade‑in program is the cleanest path. You get a value estimate online, apply it to your new order, and let them sort out payoff and paperwork.
- Pros: Seamless if you’re already ordering another Rivian; tax savings in many states because your trade‑in value reduces the taxable price of the new vehicle; one point of contact.
- Cons: Rivian is trying to move new metal, not overpay for your used truck. Trade‑in values can lag what you’d get selling to a retail buyer or EV‑specialist marketplace. You generally can’t just take a check and walk away from Rivian’s ecosystem.
Watch the fine print on incentives
Option 2: Traditional dealers and trade‑ins
Walk into a local dealer, Rivian, domestic truck brand, or import store, and they’ll usually take your R1T in trade, even if they’ve never sold one. For many owners, this is the default choice: drop off the old truck, drive home in the new one, and let the finance office handle the messy bits.
Dealer trade‑ins for a Rivian R1T: pros and cons
Convenient, but not always EV‑smart.
Where dealer trade‑ins shine
- One‑stop transaction: Swap keys in a day, no strangers at your house.
- Tax benefit: In many states, you pay sales tax on the price after trade‑in value.
- Good for payoff headaches: They handle the lien if you still owe on your Rivian.
Where they fall short on Rivians
- Limited EV knowledge: Many dealers don’t know how to properly price an R1T’s options or battery health.
- Wholesale mindset: They often price it like any other auction‑bound trade, not a premium EV truck.
- Big spread: The difference between what they offer and what they list it for can be several thousand dollars.
Avoid this common mistake
Option 3: Online instant‑offer sites (Carvana, etc.)
If you want your driveway back by the weekend, online instant‑offer platforms, think Carvana, Vroom, driveway‑style services, or EV‑specific instant‑offer tools, are built for speed. You enter your VIN, mileage, photos, and condition; they spit out an offer that’s usually good for several days.
Instant‑offer sites vs. other ways to sell your R1T
How instant‑offer platforms typically stack up on the things that matter.
| Factor | Online instant‑offer | Traditional dealer | Private sale | EV marketplace (Recharged) |
|---|---|---|---|---|
| Speed | Fastest, often 1–3 days | Fast if trading | Slowest | Fast once listed |
| Price | Better than many dealers, below retail | Often lowest | Highest potential | Near‑retail with less DIY |
| Effort | Low | Low | High | Medium |
| EV expertise | Varies by brand | Often low | Depends on buyer | High, EV‑only focus |
Each buyer sets its own pricing. Use this as a directional guide, not a guarantee.
Use instant offers as leverage
Option 4: Private sale, highest price, most work
Selling your Rivian R1T yourself, on classifieds, forums, Facebook groups, or enthusiast sites, can deliver the very best price. You’re cutting out the middlemen and dealing directly with someone who wants exactly what you’re driving. But you’re also taking on every piece of the process yourself.
- Fielding lowball messages, “Is this still available?” pings, and no‑shows.
- Screening test‑drive requests and making sure your insurance covers them.
- Handling payoff with your lender, lien releases, and title transfer.
- Coordinating funds, cashier’s checks, wire transfers, or escrow, to avoid scams.
- Meeting strangers in person, often multiple times.
Safety first with private buyers
Option 5: EV‑specialist marketplaces like Recharged
This is the middle lane between a wholesale trade‑in and a fully DIY private sale. EV‑specialist platforms, like Recharged, are built around used electric vehicles only. They understand battery health, software history, charging behavior, and the way EV shoppers compare one truck to another.

Why EV‑centric marketplaces work so well for Rivian R1T sellers
Real EV expertise
EV specialists speak the same language as Rivian owners and shoppers. They know how dual‑motor vs. quad‑motor, pack size, and software options should affect your price, and they market those details clearly.
Battery health, front and center
At Recharged, every vehicle includes a Recharged Score Report with verified battery health diagnostics. That gives buyers confidence and lets well‑cared‑for R1Ts command stronger prices than generic book values might suggest.
Flexible ways to sell
You can choose an instant offer for a fast, guaranteed sale or opt for consignment, where Recharged markets your truck nationwide, handles showings and paperwork, and aims for a higher sale price.
Fair, transparent pricing
Recharged benchmarks your R1T against live EV market data, not just generic truck books. You see how your truck compares on mileage, equipment, and battery health so you understand both the asking price and expected payout.
Less friction, nationwide reach
Because the experience is fully digital, with optional delivery and a physical Experience Center in Richmond, VA, your buyer pool isn’t limited to your ZIP code. That can mean a quicker sale without accepting a fire‑sale price.
Local vs. nationwide selling
Recharged data
Selling to Recharged
We're actively buying Rivian R1t
Offer volume is up versus the prior 3 months.
Final purchase amounts are set after inspection and review.
Based on Recharged purchase offers as of Jul 23, 2026
Recharged data
How long Rivian R1t take to sell
49
median days on market
Days from listing to sale for matching vehicles Recharged sold.
- Fastest
- 14 days
- Average
- 66 days
- Longest
- 292 days
Based on Recharged sales as of Jul 23, 2026
Which Rivian R1T selling option is best for you?
Best selling path by seller type
“I want the most money possible”
Target: Private sale or EV‑specialist marketplace (Recharged).
Get a battery health report to justify premium pricing.
Price your R1T a bit above instant‑offer numbers but below new‑truck MSRPs for similar builds.
Be prepared to wait a little longer for the right buyer if you go fully private.
“I need to sell this week”
Target: Online instant‑offer or dealer trade‑in.
Get at least two instant offers for comparison, plus a dealer quote.
Check your loan payoff so you know how much equity you actually have.
If you’re within a few hundred dollars across offers, pick the path with the least hassle.
“I’m upgrading to another EV”
Target: Rivian trade‑in vs. outside EV buyer.
Get a written trade‑in figure from Rivian and compare it to EV‑focused marketplaces.
Factor in sales‑tax savings if your state credits trade‑ins.
If a third‑party buyer is several thousand higher even after tax math, it’s often worth the extra step.
“I hate selling cars, but I don’t want to give it away”
Target: EV‑focused consignment (Recharged).
Let specialists handle photos, listings, calls, and test drives.
Set a realistic target payout based on instant‑offer and guide values.
Stay involved in pricing decisions without having to manage the whole process yourself.
How battery health impacts your R1T sale price
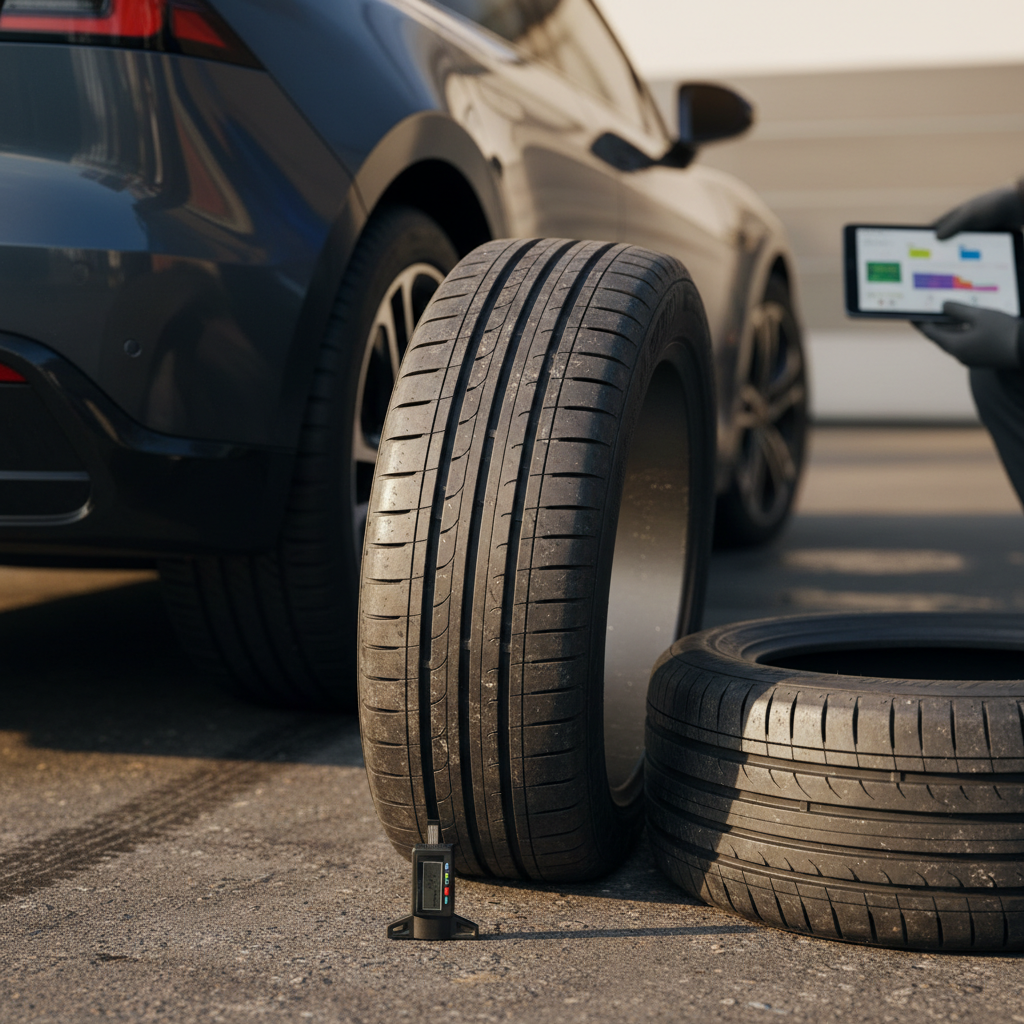
With a normal gas truck, buyers obsess over odometer readings and service stamps. With an electric truck, battery health is the new mileage. Two Rivian R1Ts with identical odometers can be worth very different money if one has a healthier pack and a more gentle fast‑charging history.
- Range estimate vs. original spec: If your truck still gets close to its original EPA range on a full charge, that’s a selling point.
- DC fast‑charging habits: Occasional fast charging is fine, but living on DC fast chargers can accelerate degradation, EV‑savvy buyers know this.
- Software history: Staying current on Rivian software helps reassure buyers that the truck has been cared for and kept up‑to‑date.
How Recharged uses battery data to your advantage
7 steps to prepare your Rivian R1T for sale
Pre‑sale checklist for your Rivian R1T
1. Gather your records
Download service history from your Rivian app or account, gather any paper service receipts, warranty work, and tire invoices. Buyers love a story that says, “I’ve been on top of maintenance.”
2. Document battery and range
Take clear photos of your truck at 100% state of charge showing estimated range. If you’ve had an independent battery health check, or a Recharged Score Report, have that handy.
3. Clean it like a dealer would
A thorough wash, de‑bugged front end, clean wheels, and a deep interior cleaning (gear tunnel and frunk included) go a long way. Fix small cosmetic issues where it’s cost‑effective to do so.
4. Remove personal data
Sign out of your Rivian account, unpair phones, clear saved addresses, garage‑door buttons, and any third‑party app logins. For marketplace or consignment sales, your advisor can walk you through this step.
5. Photograph what makes it special
Shoot your R1T in good light from all angles, plus close‑ups of wheels, gear tunnel, bed, frunk, screens, key options, and accessories. EV marketplaces and private buyers both respond to detailed, honest photos.
6. Set a realistic price range
Use guide values, instant offers, and EV‑market data to bracket your R1T’s worth. Decide your “take‑it‑today” number and your stretch goal before you get offers so emotions don’t drive the decision.
7. Choose your selling lane
Once everything’s ready, decide: trade‑in, instant offer, private sale, or an EV‑specialist platform like Recharged. If you’re torn, start by getting a no‑obligation offer or consignment estimate, that’s free information you can use anywhere.
FAQs about selling a Rivian R1T
Frequently asked questions about selling a Rivian R1T
Bottom line: The best place to sell a Rivian R1T
There’s no single best place to sell a Rivian R1T for every owner, but there is a best place for you. If you value speed above all, dealer trade‑ins and instant‑offer sites are tough to beat. If you’re chasing every last dollar, a carefully managed private sale can deliver. For most Rivian drivers, though, the sweet spot is an EV‑specialist marketplace that understands the truck, showcases its battery health, and brings serious buyers to your digital doorstep.
That’s exactly where Recharged comes in. With expert EV pricing, financing and trade‑in support, instant offers or consignment, nationwide delivery, and a Recharged Score Report on battery health, it’s designed to make selling a used electric vehicle, including a Rivian R1T, as simple and transparent as it should be. Do a little homework on your numbers, pick the lane that fits your priorities, and you can let your next adventure, not your last truck, take center stage.