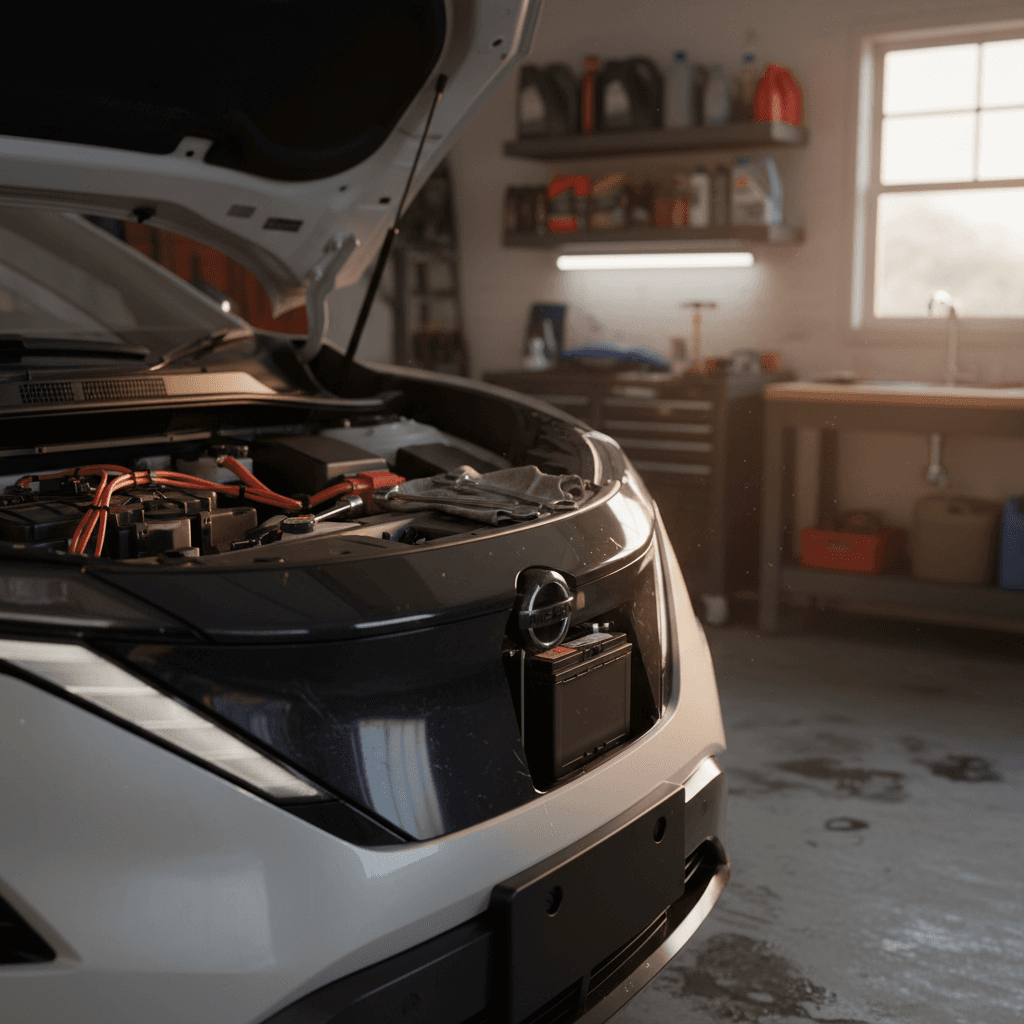
If you own a Nissan Ariya, you’ve probably heard whispers about 12V battery problems and dreaded “Service EV System” messages. The good news: a Nissan Ariya 12V battery replacement is usually straightforward and relatively affordable. The bad news: when this small battery goes wrong, it can leave an otherwise healthy EV completely bricked in your driveway.
Quick takeaway
Why the Ariya’s 12V battery matters more than you think
Every modern EV, including the Nissan Ariya, still relies on a conventional 12‑volt accessory battery. The big high‑voltage pack moves the car; the 12V battery wakes the brains. It powers the computers, relays, safety systems, telematics, and things like door locks and interior lights. If it’s too weak, the Ariya simply won’t boot, and the high‑voltage pack can’t connect to the rest of the car.
Owners have reported no‑start conditions, “EV System Off,” and “Service EV System” warnings that ultimately traced back to a tired 12V battery rather than a failed traction pack or inverter. On Recharged, we’ve seen Ariyas that behaved perfectly once their underspec or aging 12V battery was replaced with a stronger AGM unit and the stored faults were cleared.
Don’t ignore intermittent warnings
Common Nissan Ariya 12V battery symptoms
Typical warning signs before a 12V failure
These issues are often misdiagnosed as high‑voltage or software problems, but they frequently trace back to the accessory battery.
Intermittent warnings
- “Service EV System,” “EV System Off,” or “12V power system error” messages at startup
- Warning disappears after a restart, then returns days or weeks later
Slow or no wake‑up
- Pressing the start button takes longer than usual to bring the car “Ready”
- Cluster or infotainment flickers or reboots
Complete no‑start
- Car won’t shift out of Park, or won’t power up at all
- Door locks, hazard lights, and other low‑draw systems may still work
- Range indicator or accessory behavior that doesn’t match your actual driving (the HV pack is fine, but 12V errors confuse the system)
- The car going into low‑power or “EV Off” mode even with plenty of traction‑battery charge remaining
- Having to call a tow truck or roadside service to restart the car even though the main battery isn’t empty
Quick home check
Where is the Nissan Ariya 12V battery located?
On most left‑hand‑drive Nissan Ariya models sold in the U.S., the 12‑volt battery sits under the hood on the driver’s side, near the cowl. Open the hood, look to the left, and you’ll see a compact 12V battery in a traditional clamp or tray with the usual positive and negative terminals accessible from above.
On certain right‑hand‑drive versions (for example, some UK or Japanese models), Nissan locates the 12V battery in the rear boot/trunk area behind trim. If your Ariya’s manual references a rear‑mounted 12V battery, follow that procedure instead of assuming it’s under the hood.
Always confirm with your owner’s manual
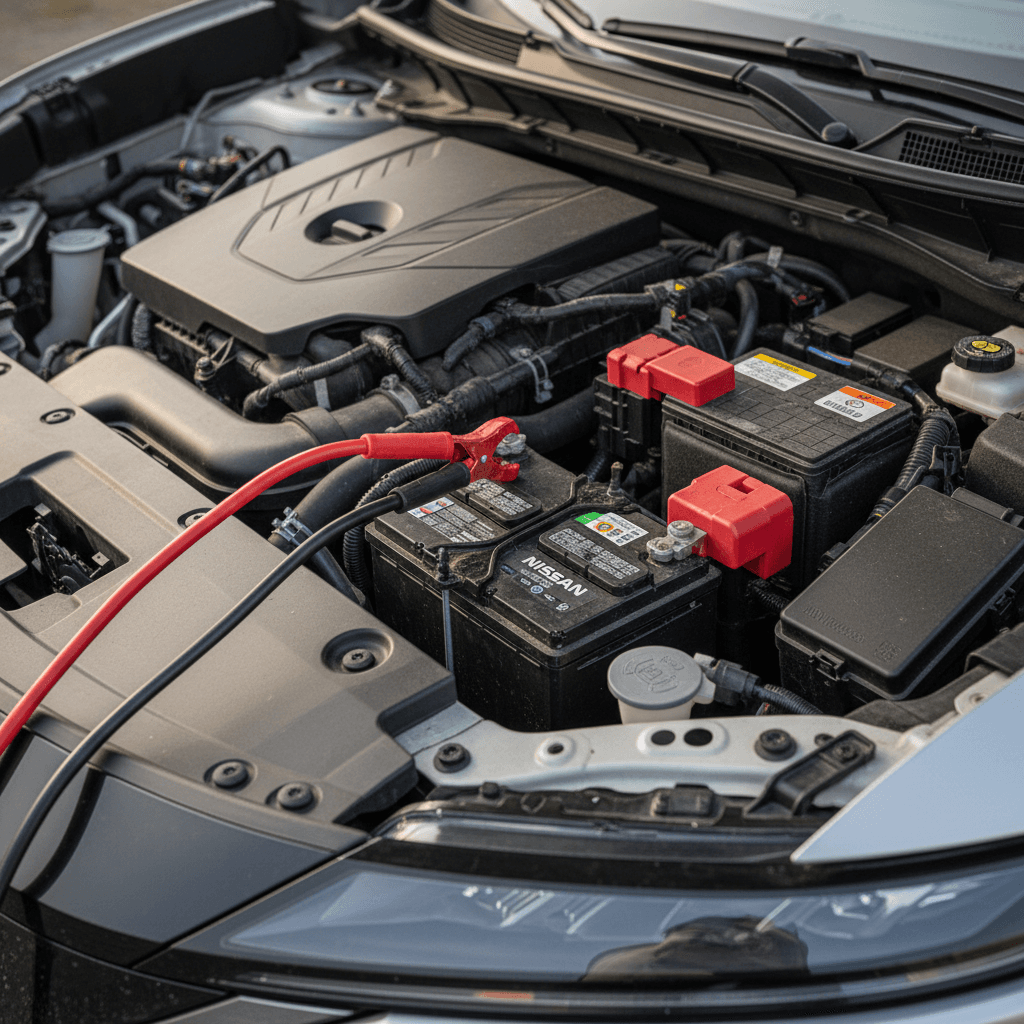
Safe ways to jump or restart a dead Ariya 12V
If your Ariya is completely unresponsive, the safest first step is often to boost the 12V battery just enough to let the car’s computers and contactors wake up. Once the system is online, the DC‑DC converter can charge the 12V from the high‑voltage pack – as long as the 12V battery isn’t completely destroyed.
How to safely jump your Nissan Ariya’s 12V battery
1. Park safely and secure the vehicle
Park on a flat surface, engage Park and the parking brake, and make sure the donor vehicle or jump pack is close enough to reach but not touching the Ariya. Turn off all accessories on both vehicles.
2. Access the 12V battery terminals
Open the hood (or trunk, on RHD cars with rear batteries) and remove any plastic covers over the 12V battery. Identify the positive (+, often red) and negative (−, usually black) terminals or designated jump posts.
3. Connect jumper cables in the correct order
Connect positive clamp to the Ariya’s positive terminal, then to the donor battery’s positive. Next, connect the negative clamp to the donor’s negative terminal, and finally to a solid, unpainted metal point on the Ariya’s body or designated ground – not directly to the negative battery post if the manual warns against it.
4. Power up and wait a minute
Start the donor vehicle or switch on the jump pack. Wait 60–120 seconds to let some charge flow into the Ariya’s 12V battery before attempting to start the Ariya.
5. Start the Ariya and watch the messages
Press the brake and start button as usual. If the 12V battery was your main problem, you should see the car enter “Ready” mode. Some warnings may persist until the system completes a charge cycle or a dealer clears codes.
6. Disconnect in reverse order
Once the Ariya is running, remove the cables in the reverse order you attached them, being careful not to let the clamps touch. Drive for at least 20–30 minutes to allow the DC‑DC converter to recharge the 12V battery if it’s still serviceable.
If in doubt, don’t guess with jump‑starts
Step-by-step Nissan Ariya 12V battery replacement
If you’re handy with basic tools, replacing the Nissan Ariya’s 12V battery is a reasonable DIY project. The steps below describe a typical under‑hood replacement on a U.S.‑spec Ariya; rear‑mounted batteries follow the same principles but require trim removal instead of opening the hood.
What you’ll need for a Nissan Ariya 12V battery replacement
Gather these tools and parts before you disconnect anything – once the 12V battery is out, the car’s systems will be offline.
| Item | Purpose | Notes |
|---|---|---|
| Replacement 12V battery | Primary component | Correct group size, terminal orientation, and rating for your Ariya |
| 10 mm (and possibly 12 mm) socket + ratchet | Remove clamps and hold‑down | Most Nissan battery hardware uses 10 mm, but check yours first |
| Battery terminal brush or cleaner | Clean corrosion | Optional but recommended |
| Memory saver (optional) | Preserve settings | OBD‑II or 12V outlet style, if Ariya allows it |
| Gloves and eye protection | Safety | Lead‑acid batteries can vent gas or leak acid |
| Shop towel or mat | Protect paint | Prevents scratching fenders or trim |
Tool and part checklist for an Ariya 12V battery swap.
DIY procedure: Replacing the Ariya’s 12V battery
1. Verify you have the right replacement battery
Check the group size, terminal layout (left/right positive), and cold‑cranking or reserve capacity ratings. Many Ariya owners upgrade from the OEM flooded lead‑acid battery to an AGM EV‑rated 12V with similar physical dimensions.
2. Power the vehicle down fully
Make sure the Ariya is in Park with the parking brake set. Turn the vehicle off, open the hood, and leave the driver’s door open so you don’t rely on power locks while the battery is disconnected.
3. Remove covers and inspect the area
Remove any plastic covers over the 12V battery. Take a quick photo of the battery and cable routing for reference. Note any corrosion or aftermarket devices (dash cams, trackers) connected to the terminals.
4. Disconnect the negative terminal first
Using a 10 mm wrench or socket, loosen the negative (−) terminal clamp and carefully move the cable away from the battery so it can’t spring back into contact. This reduces the risk of accidental short circuits when you remove the positive side.
5. Disconnect the positive terminal and hold‑down
Loosen and remove the positive (+) terminal clamp. Then unbolt the battery hold‑down bracket or strap. Keep hardware organized so you can reinstall it in the same order.
6. Lift out the old battery safely
12V batteries are heavy. Use both hands, lift straight up, and keep the battery level to avoid spills. Set it on the ground, not on a painted fender. Wipe out the tray and clean any corrosion from cable ends with a brush.
7. Install the new battery in the same orientation
Place the new battery in the tray with the terminals in the same orientation as the original. Reinstall the hold‑down and snug it so the battery cannot move, but don’t over‑tighten and crack the case.
8. Reconnect positive first, then negative
Attach and tighten the positive (+) clamp first, then the negative (−) clamp. You want a firm, secure connection but not so tight that you deform the terminals. Refit any protective terminal covers and plastic shrouds.
9. Wake the car and clear any lingering warnings
Close the hood, press the brake and start button, and allow the Ariya to boot fully. Some warning lights may clear automatically after a successful start and short drive. If “Service EV System” persists even with a healthy 12V battery, a dealer-level scan tool may be needed to clear stored faults or check for software updates.
When to have a shop do it instead
OEM vs AGM vs lithium: Which 12V battery should you buy?
OEM flooded lead‑acid
- Lowest upfront cost
- What your Ariya likely shipped with
- Acceptable for light climates and lower accessory loads
- Can struggle if it sat on a shelf for a long time before installation
AGM (Absorbent Glass Mat)
- Better vibration and deep‑cycle tolerance
- Holds voltage more consistently at rest
- Popular upgrade among Ariya owners using EV‑rated AGM batteries
- Costs more than basic flooded lead‑acid, but typically lasts longer
Lithium 12V upgrades
- Much lighter and can offer very stable voltage
- Some companies now sell drop‑in lithium 12V batteries specifically for the Ariya
- Higher upfront cost and different failure behavior
- Only consider reputable brands designed for EV use with proper BMS
How to choose for your use case
How much does a Nissan Ariya 12V battery replacement cost?
Typical 12V replacement cost ranges for the Nissan Ariya
Costs vary by where you buy the battery, whether you opt for a premium AGM or lithium upgrade, and how much diagnostic time the shop spends confirming that the 12V battery is the only issue. At a dealer, you’re often paying not just for the battery but also for a full scan, software updates, and in some cases an inverter or EV‑system reprogram that Nissan requires after certain faults.
Warranty and recall angle
Preventing future 12V battery failures in your Ariya
Habits that help your Ariya’s 12V battery live longer
You can’t control every defect or batch issue, but you can control operating conditions.
Drive or “Ready” the car regularly
EVs top up the 12V battery when the high‑voltage system is awake. If your Ariya sits for long periods, consider putting it in Ready mode in a well‑ventilated area for 15–20 minutes once a week to let the DC‑DC converter charge the 12V.
Avoid heavy parasitic draws
Hard‑wired dash cams, trackers, or aftermarket accessories that stay on when the car is off can drain the 12V overnight. Use switched circuits or low‑draw parking modes, and monitor the 12V voltage if you add accessories.
Protect it from heat
High ambient temperatures shorten 12V battery life. When possible, park in shade or a garage, and don’t leave the car baking for weeks if you’re traveling.
Monitor aging batteries
Once your Ariya’s 12V is more than 3–4 years old, occasional voltage checks or a simple Bluetooth monitor can give early warning of declining health, so you can replace it on your schedule rather than after a tow.
Don’t rely on the traction battery as a crutch
Used Nissan Ariya buyers: 12V battery red flags
If you’re shopping for a used Ariya, the 12V battery is a small part with outsized influence on reliability – and on how confident you’ll feel putting money down. The traction pack and motors are generally robust so far; the 12V system is where a disproportionate number of owner headaches live.
Checklist: 12V questions to ask before buying a used Ariya
1. Ask about any “Service EV System” or no‑start history
Multiple early‑life dealer visits for EV‑system warnings or no‑start issues may point to a weak OEM 12V battery. That’s not a deal‑breaker, but you want to know if the battery was replaced and whether the fault codes were properly cleared.
2. Check the 12V battery’s age and brand
Look for a date stamp or label. A recent replacement from a reputable brand – especially an EV‑oriented AGM – is a plus. A 3‑ or 4‑year‑old original Nissan 12V on a low‑miles Ariya is a signal to budget for a replacement soon.
3. Scan for codes if possible
If you or the seller can plug in a scanner, look for stored 12V or DC‑DC converter codes. Even if the dash is clear, history codes tell you how often the car has been flirting with low accessory voltage.
4. Watch the startup sequence
On your test drive, pay attention to how quickly the Ariya goes to “Ready” after you press the start button. Long delays, flickering screens, or warnings that appear and vanish are all reasons to ask more questions.
5. Use independent data when you can
On Recharged, every Ariya listing includes a Recharged Score Report that covers battery health, diagnostic trouble codes, and value. That helps you separate a car with a one‑time 12V glitch from one that’s been chasing electrical gremlins for months.
How Recharged helps de‑risk the 12V question
Ready to find your next EV?
Browse VehiclesFAQ: Nissan Ariya 12V battery replacement
Frequently asked questions about Ariya 12V batteries
The Nissan Ariya’s 12‑volt accessory battery is small, but it’s central to how the vehicle behaves – and it’s at the root of many “mystery” EV‑system warnings and no‑start scenarios. The upside is that 12V issues are usually fixable with a straightforward battery replacement and, in some cases, a software reset. Whether you’re keeping your Ariya long‑term or evaluating one on the used market, treating the 12V battery as a wear item – and upgrading it thoughtfully – is one of the simplest ways to stack the odds in favor of a smooth EV ownership experience.
If you’re comparing used Ariyas or want a second set of eyes on a car’s electrical history, browsing listings on Recharged gives you access to vehicles with transparent battery health data and expert support. That way, a $200 accessory battery never has the chance to feel like a $40,000 problem.