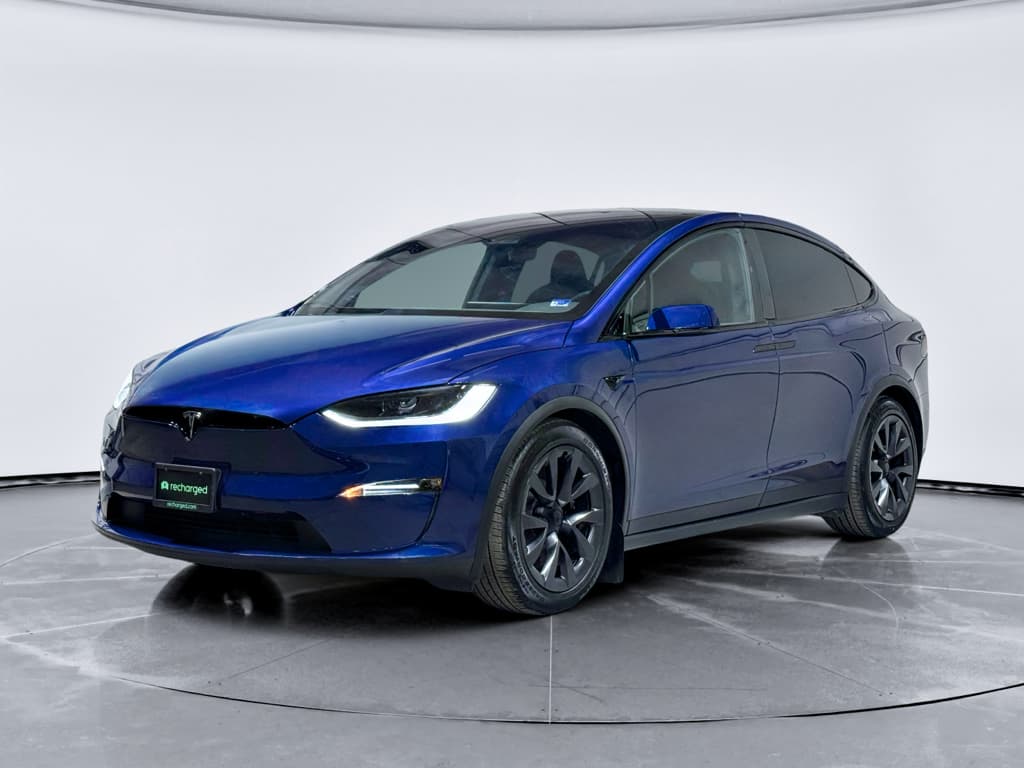
You don’t really buy a Tesla. You buy a charging routine. And in 2025, that routine almost always includes a Level 2 home charger. If you’re wondering what a Tesla home charger installation cost looks like in the real world, not brochure fantasy, you’re in the right place.
Fast answer
Tesla home charger installation cost: the short version
Tesla home charger installation at a glance (2025)
Think of your Tesla home charger in two separate line items: 1. The hardware – a Tesla Wall Connector is usually around $475. 2. The installation – anywhere from $300 to $3,000+ depending on how far your panel is from the parking spot, how old your electrical system is, and whether you need a panel upgrade.
- Basic install, panel right next to garage: roughly $700–$1,200 total.
- Standard install across a garage wall or short run: typically $1,200–$2,000.
- Complex install or panel upgrade: often $2,500–$3,500+.
Sticker shock warning
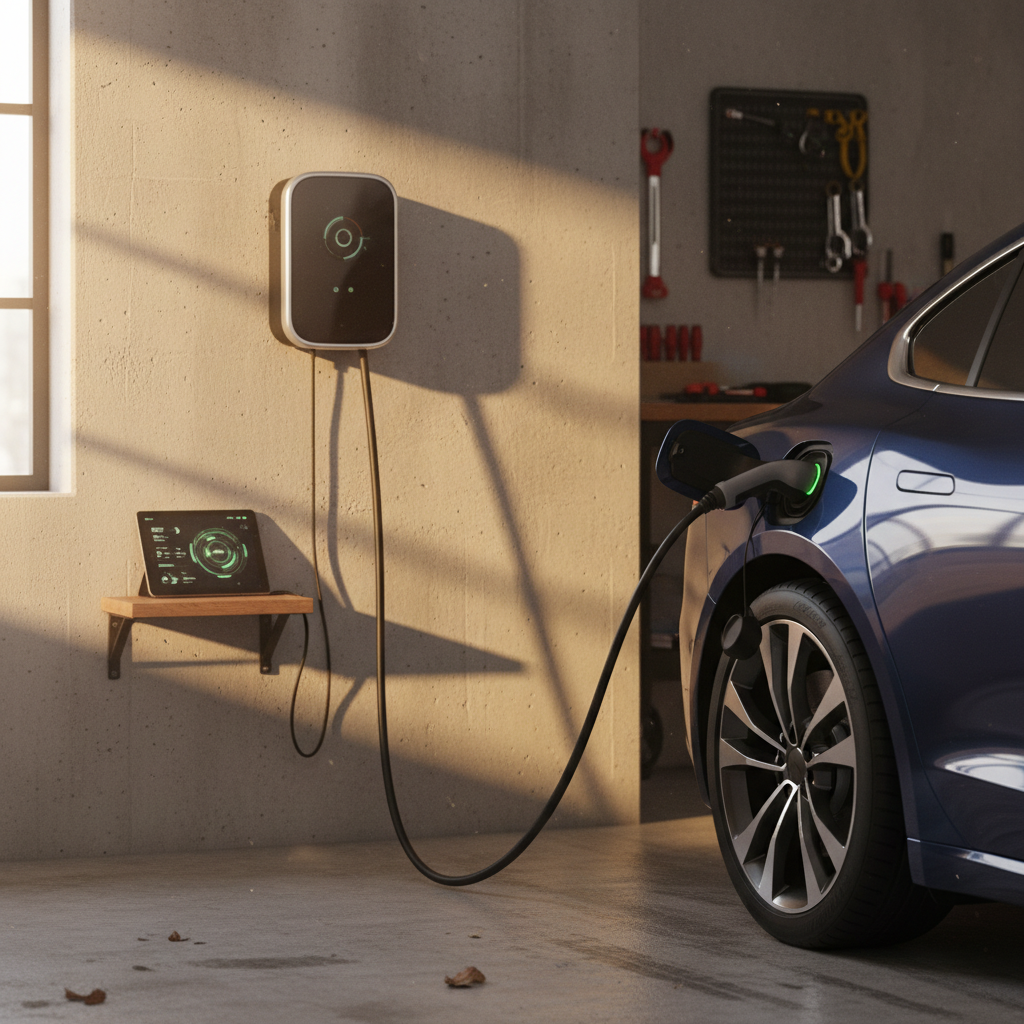
What you’re actually buying: Wall Connector vs outlet
Tesla gives you options, and they’re not all created equal when it comes to cost. You can either install the dedicated Tesla Wall Connector or simply have an electrician put in a NEMA 14-50 or 6-50 outlet and use a mobile connector.
Two main ways to charge at home
Both get the job done, but the costs and experience differ.
Tesla Wall Connector
Upfront cost: About $475 for the unit, plus installation.
- Hardwired or plug-in options.
- Up to 48A charging (about 30–44 miles of range per hour for many Teslas).
- Clean look, cable management, smart features.
Best for: Owners who charge at home most nights and plan to keep the car for a while.
240V NEMA outlet + mobile connector
Upfront cost: Usually $500–$1,000 installed for the outlet. Tesla’s mobile connector is extra if you don’t already have it.
- Charging speed often similar to a Wall Connector on the same circuit.
- Less pretty, more flexible, you can unplug and take the cord with you.
- Great for renters or people testing the EV waters.
Best for: Budget-conscious owners or those who may move soon.
Quick sanity check
Cost breakdown: Tesla home charger installation
Typical cost components for a Tesla home charger
These are ballpark figures; your local electrician and permitting office will quickly tell you which ones apply.
| Line item | Typical cost range | Notes |
|---|---|---|
| Tesla Wall Connector hardware | $450–$500 | Purchased from Tesla or a retailer. |
| Standard materials (breaker, wire, conduit, fittings) | $150–$400 | Depends on run length and amperage. |
| Electrician labor (straightforward install) | $300–$900 | 2–6 hours of work at typical U.S. rates. |
| Electrician labor (complex install) | $1,000–$2,400 | Attic work, long runs, trenching, or detached structures. |
| Permit and inspection | $50–$300 | Highly city-dependent; some markets run higher. |
| Electrical panel upgrade | $1,000–$3,000+ | If you need to go from 100A to 200A or add a subpanel. |
| Trenching / concrete work | $500–$2,000 | For detached garages or outdoor runs through yard or driveway. |
Costs shown are common U.S. ranges in 2025, not quotes.
If your panel is modern, has spare capacity, and sits on the same wall as your parking spot, you’re playing this game on “easy” mode. The moment your electrician says “panel upgrade,” “attic crawl,” or “detached garage,” you move into the expensive tiers.
Installation cost scenarios: from basic to complex
1. Basic install – panel on garage wall
Scenario: Newer home, 200A service, open breaker spaces, panel on the same wall as your parking spot.
- Hardware: ~$475
- Labor & materials: ~$300–$500
- Permit: ~$75–$150
Typical total: $700–$1,200
2. Standard install – across garage or short run
Scenario: Panel in the corner, charger needs to be on the far wall; some conduit, maybe a short attic run.
- Hardware: ~$475
- Labor & materials: ~$700–$1,200
- Permit: ~$100–$200
Typical total: $1,200–$2,000
3. Complex install – panel upgrade or detached garage
Scenario: Older 100A panel already maxed out, or charger goes to a detached structure or long driveway run.
- Hardware: ~$475
- Labor & materials: $1,500–$2,500
- Panel upgrade: $1,000–$3,000+
- Permit/inspection: $150–$300
Typical total: $2,500–$3,500+
Location matters
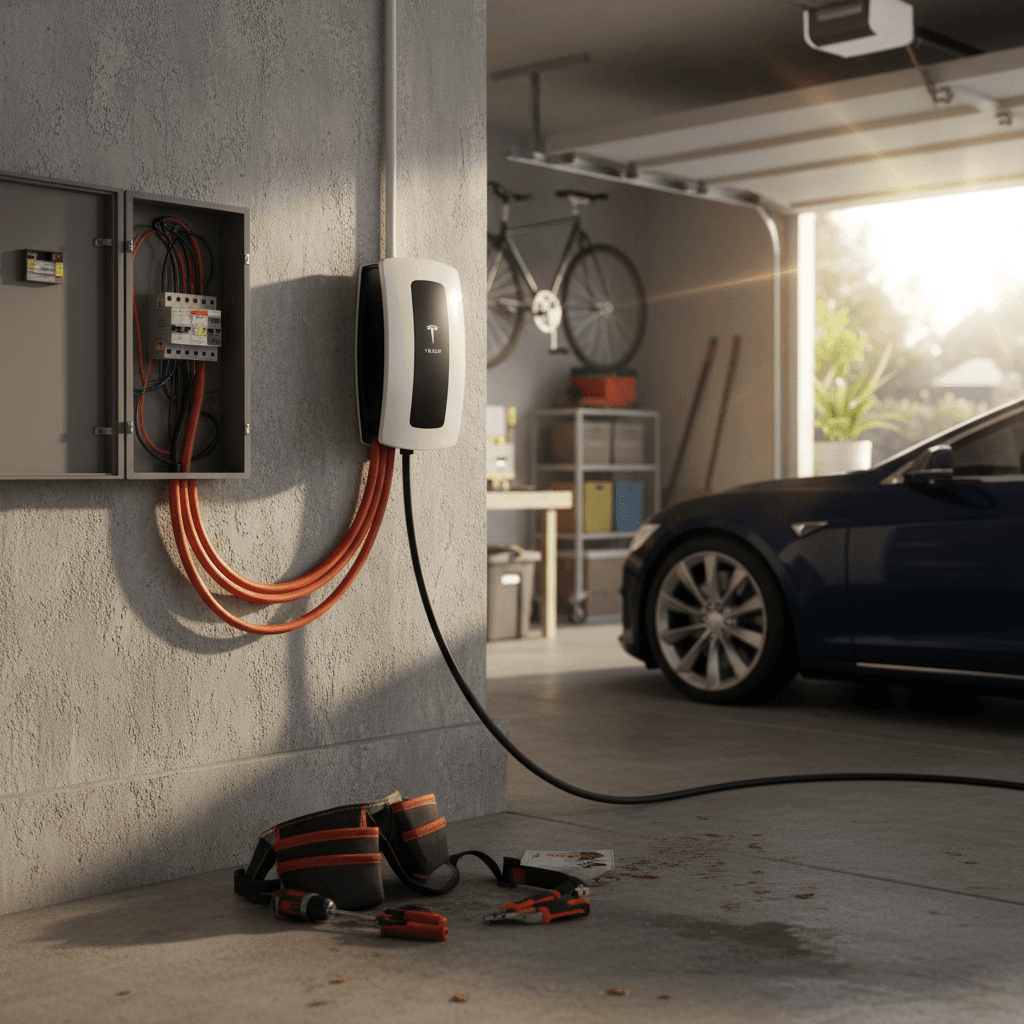
Hidden cost drivers that move you up the range
Three houses on the same cul-de-sac can get wildly different quotes for the same Tesla Wall Connector. The difference isn’t the charger; it’s the house.
What makes Tesla home charger installs expensive?
1. Panel capacity and age
If you have an older 60A or 100A panel, or it’s already stuffed with tandem breakers, your electrician may insist on a 200A upgrade or a subpanel. That alone can add $1,000–$3,000+.
2. Distance from panel to parking
Copper isn’t cheap. Every 10–20 feet of run adds wire, conduit, and labor. A charger five feet from the panel is a very different job from a detached garage 60 feet away.
3. How the wire gets there
Running neatly along a garage wall is quick. Snaking through a finished basement ceiling, attic, or exterior wall takes time, holes, and patching. Time is money.
4. Indoor vs outdoor
Outdoor installs need weatherproof boxes, conduit, and sometimes trenching. Depending on your climate and local code, that can add several hundred dollars.
5. Local permitting rules
Some jurisdictions treat a Level 2 charger like hanging a picture; others want multiple inspections and stiff permit fees. Always ask your electrician how your city handles it.
6. Labor rates in your area
An hour of a licensed electrician’s time in a big coastal city is not the same as in a small town. Most quotes will be several hours of labor multiplied by that rate.
Do not DIY a Tesla charger
7 ways to lower your Tesla home charger installation cost
Practical ways to keep the bill sane
You can’t control copper prices, but you can control your choices.
1. Mount the charger near the panel
The shortest safe route is usually the cheapest. If you’re flexible about which side of the garage the car noses into, place the Wall Connector where the wire run is minimal.
2. Get at least three quotes
Electricians are like restaurants, same ingredients, different prices. For the exact same job, it’s common to see quotes differ by 30–50%. Get multiple, detailed estimates.
3. Ask explicitly about panel capacity
Before you fall in love with a 60A, max‑speed setup, have your electrician confirm what your panel can realistically support. Sometimes a 40A or 32A circuit avoids an expensive panel upgrade.
4. Consider a NEMA outlet first
In many homes, installing a 240V outlet costs less than a full hardwired Wall Connector job. You can always upgrade the hardware later; the circuit is what really matters.
5. Schedule during off-peak season
Electricians are slammed during summer remodel season. If you have the luxury of time, scheduling work in slower months can mean more negotiating room on labor.
6. Use rebates and credits aggressively
Stack the 30% federal tax credit with any state or utility rebates you qualify for. Together, they can trim hundreds off your net cost.
Recharged tip for used EV shoppers
Ready to find your next EV?
Browse VehiclesTax credits, rebates, and utility programs
The good news: you don’t have to swallow the whole bill yourself. In 2025, several incentive layers can ease the pain of Tesla home charger installation cost, especially if you do the paperwork instead of leaving money on the table.
- Federal EV charger tax credit: For home installs, you can generally claim 30% of the total cost of equipment plus installation, up to $1,000, on your federal taxes when you file IRS Form 8911. Current rules extend through June 30, 2026, so there is a clock ticking.
- State and local rebates: Many states and cities offer $200–$1,000 in additional rebates for qualifying Level 2 chargers. Some require networked “smart” chargers or enrollment in an off‑peak program.
- Utility company incentives: Utilities love predictable nighttime load. You may see rebates for the charger itself, partial coverage of installation, or ongoing bill credits for charging overnight.
- Builder / HOA programs: Newer developments and multifamily buildings sometimes have internal incentives or pre-wired parking spaces; ask before you start from scratch.
Paperwork strategy
Tesla home charger vs just using a 120V outlet
Technically, you can charge a Tesla from a regular household outlet. Practically, it’s like fueling a pickup truck with a turkey baster.
120V Level 1 – the emergency option
- Adds roughly 3–5 miles of range per hour.
- Fine if you drive 10–20 miles a day and don’t mind topping off constantly.
- No electrician needed if the outlet is on a healthy circuit.
Great as a stopgap, but most Tesla owners outgrow Level 1 within weeks. It’s slow, cords end up across walkways, and you’re always aware of the battery gauge.
240V Level 2 – the real ownership experience
- Typically adds 25–40+ miles of range per hour depending on amperage and model.
- Lets you arrive nearly empty and wake up “full” almost every time.
- More efficient use of the car’s onboard charger and your time.
This is the setup that makes an EV feel like magic: you plug in at night and forget about it. The installation cost is the ticket to that lifestyle.
Buying a used Tesla or used EV? Factor home charging in
When you’re shopping for a used Tesla, or any used EV, the asking price is only half the story. If the car is perfect but your house needs a panel upgrade and a long run to the garage, your real cost of entry just went up.
How Recharged fits in
Checklist for used Tesla / used EV buyers
1. Confirm your parking situation
Garage, driveway, street? Home Level 2 charging is easiest with a dedicated parking spot on your property. If that’s not your reality, budget more for public charging.
2. Inspect your electrical panel
Snap a clear photo of the panel door (label) and the breakers inside. An electrician, or an EV-savvy friend, can often spot capacity issues from that alone.
3. Ask sellers about existing chargers
If a previous owner already installed a Level 2 charger, find out whether it stays with the house or the car. A working circuit can save you hundreds.
4. Add home charging to your budget model
If you’re deciding between two used EVs, compare total landing cost: car price + taxes + estimated home charger installation. The cheaper car isn’t always the cheaper decision.
FAQ: Tesla home charger installation cost
Frequently asked questions
Bottom line: how much should you budget?
A Tesla home charger is not just another car accessory; it’s the spine of your ownership experience. In budgeting terms, most people should expect a Tesla home charger installation cost in the $1,200–$2,000 neighborhood, with honest potential to land below, or above, depending on how friendly your electrical panel and layout are.
If you’re shopping used, platforms like Recharged help you get the fundamentals right, verified battery health, fair pricing, and EV‑savvy guidance on how home charging fits into the total cost of ownership. Get a couple of local electrician quotes, layer in any tax credits and rebates, and you’ll know exactly what number to pencil in next to your dream Tesla or used EV.