If you own, or are about to own, an electric vehicle, learning how to install an EV charger at home is just as important as choosing the car itself. Done right, home charging is convenient, inexpensive, and easier on your battery than constant fast charging. Done wrong, it can be a headache, or worse, a safety risk.
The short version
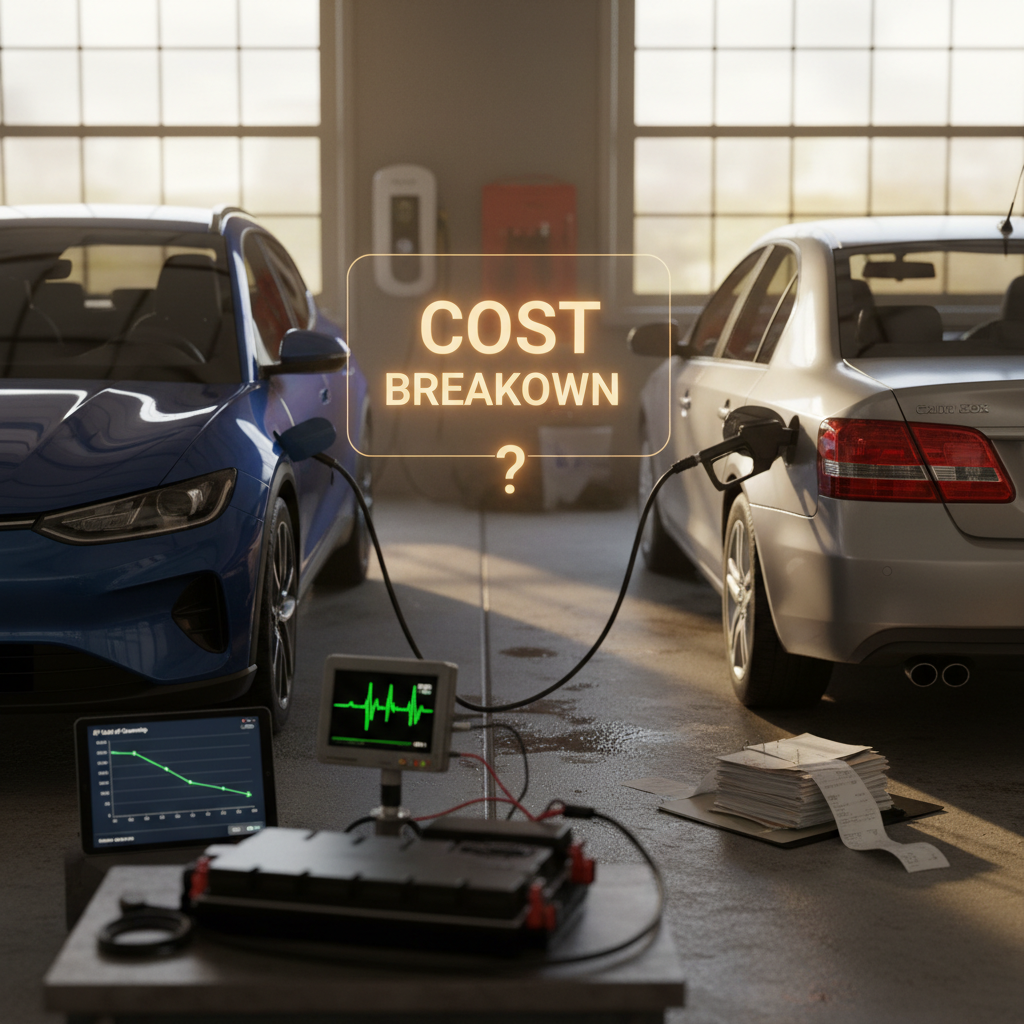
Why install an EV charger at home?
What home charging changes for your daily life
Three big advantages vs relying on public stations
Time back in your day
With home charging, "filling up" happens while you sleep. For many commuters, a Level 2 charger can add 20–40 miles of range per hour, easily covering daily driving overnight.
Lower fuel costs
Charging at home, especially on off‑peak electricity rates, typically costs the equivalent of paying $1–$1.50 per gallon in fuel. That’s a fraction of today’s gas prices in most states.
Battery and convenience
Regular home charging at moderate speeds is gentler on your battery than frequent DC fast charging and means you start each day with the range you need, no detours to charge.
If you’re shopping used EVs through Recharged, every vehicle includes a battery health report, so you know exactly what kind of range to expect before you spend money on a home charger or electrical upgrades.
Level 1 vs. Level 2 vs. DC fast: What actually works at home
Home charging options at a glance
Most homeowners will choose between Level 1 and Level 2. DC fast chargers are usually impractical for residential use.
| Type | Voltage | Typical Speed | Best For | Pros | Cons |
|---|---|---|---|---|---|
| Level 1 | 120V | 3–5 miles of range per hour | Very low daily mileage, overnight top‑ups | Uses existing outlets, no new circuit in many homes | Slow; may not keep up with longer commutes |
| Level 2 | 240V | 20–40 miles of range per hour | Most daily drivers, families, two‑EV households | Fast, flexible, works with scheduled off‑peak rates | Requires new circuit, permit, and installation cost |
| DC fast | 400–800V DC | 150–200+ miles per hour (vehicle‑dependent) | Commercial sites, highway corridors | Extremely fast for road trips | Hardware and grid demands make it unrealistic at home |
Comparison of home charging options in 2025.
A simple rule of thumb
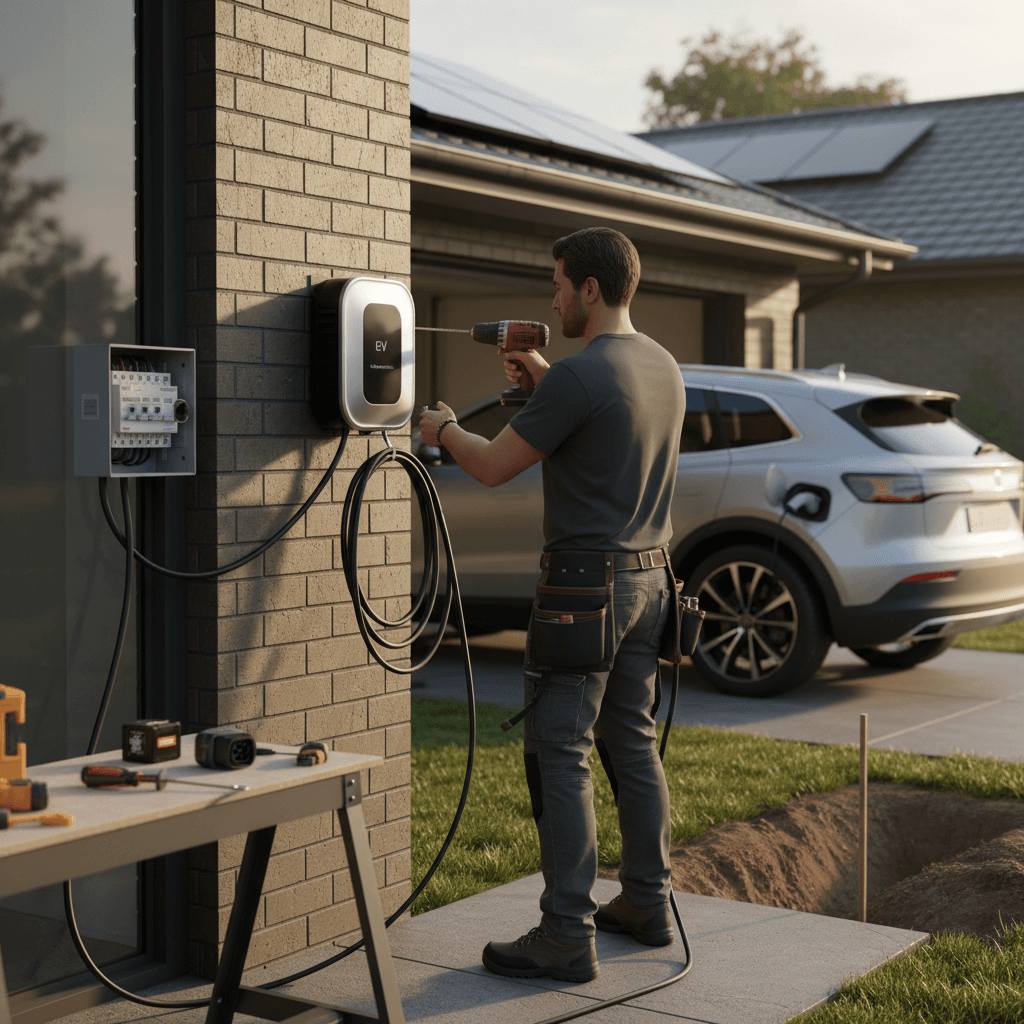
Can you install a home EV charger yourself?
What you can reasonably DIY
- Mounting the charger to the wall according to the manufacturer’s instructions (no wiring yet).
- Running conduit on the surface of unfinished garage walls for cable protection.
- Installing Wi‑Fi or app setup once power is connected.
These tasks don’t touch live conductors and can be done safely with basic tools.
What should be left to a licensed electrician
- Running a new 240V circuit from your panel.
- Calculating load to ensure your service can safely handle the charger.
- Installing new breakers, wiring, or a subpanel.
- Pulling permits and scheduling inspections as required by your locality.
Bottom line: anything inside the electrical panel or connected to it should be done by a pro. Your insurance company and local code officials agree.
Serious safety reminder
Step-by-step: how to install an EV charger at home
From idea to first plug‑in
1. Confirm your EV’s charging capabilities
Check your owner’s manual or window sticker for the car’s maximum AC charging rate. If your EV tops out at 32 amps, you don’t gain anything by installing a 48‑amp charger, though it can future‑proof for your next vehicle.
2. Choose plug‑in vs. hardwired Level 2
Plug‑in chargers use a NEMA 14‑50 or 6‑50 outlet; hardwired units connect directly. Plug‑in units are flexible and easier to replace. Hardwired units can be cleaner and may simplify meeting code in some jurisdictions.
3. Decide where the charger should live
Think about where you park most nights, where the charge port is on your EV, and how a cable will drape safely. A 20–25 ft cable usually works well for most garages if you back in or pull in consistently.
4. Get an electrical assessment and quotes
Have a licensed electrician evaluate your panel capacity, distance to the charger location, and whether you need a panel or service upgrade. Get at least two quotes, especially if trenching or long conduit runs are involved.
5. Apply for permits if required
Many U.S. cities require an electrical permit for a new 240V circuit. In 2025, permit fees commonly range from about $50–$300 depending on your jurisdiction. Your electrician can usually handle the paperwork.
6. Schedule installation and inspection
On install day, the power will be shut off briefly as the new breaker and wiring are installed. Afterward, an inspector (where required) signs off that the work meets local code and the National Electrical Code (NEC).
7. Configure your charger and utility settings
Connect the charger to Wi‑Fi, set a charging schedule to align with off‑peak electric rates, and, if offered, enroll in your utility’s managed charging or demand‑response program for bill credits.
How much does it cost to install a home EV charger in 2025?
Typical U.S. home EV charger costs in 2025
Recent industry data for 2025 show average installation costs around the mid‑$2,000s across the U.S., excluding the charger itself. Your actual bill depends on regional labor rates, how far your panel is from the parking spot, and whether your home needs a service‑panel upgrade.
Where the money goes
Major cost components when you install an EV charger at home.
| Cost bucket | Typical range | What’s included |
|---|---|---|
| Charger hardware | $350–$800 | Wallbox or portable Level 2 unit with 20–25 ft cable |
| Basic electrical work | $500–$1,500 | New 240V circuit, wiring, conduit, breaker, outlet or hardwire |
| Panel upgrade (if needed) | $1,500–$3,000+ | New main panel or service upgrade to 200A where existing capacity is limited |
| Permits & inspection | $50–$300+ | City or county electrical permit, inspection fee |
| Drywall & finish work | $0–$500+ | Patching and painting if walls are opened |
Budget ranges are typical for 2025 but can vary by region and contractor.
How to keep costs down
Electrical panel capacity, load calculations, and code basics
Before anyone installs a Level 2 charger, they should confirm that your home’s electrical service can safely handle the additional load. In practice, that means a load calculation based on the National Electrical Code (NEC) and your actual appliances and usage.
- Most newer U.S. homes have 200‑amp service, which is often sufficient for a 40‑amp EV circuit when combined with modern load‑management options.
- Older or smaller homes may have 100‑amp service, which can be tight once you add central air, electric cooking, or an electric dryer.
- The 2023 NEC generally calls for an individual branch circuit for EV charging equipment above 16 amps or above 120 volts, which covers virtually all Level 2 chargers.
- Smart panels and load‑management devices can sometimes allow an EV circuit without a full service upgrade by shedding load when demand spikes.
Don’t skip the load calculation

Rebates, tax credits, and utility programs
In 2025, incentives can dramatically cut the cost to install an EV charger at home, but you have to know where to look and pay attention to deadlines.
Three incentive buckets to check
Stacking programs can shrink your out‑of‑pocket bill
1. Federal tax credit (30C)
The federal Alternative Fuel Vehicle Refueling Property Credit lets qualifying homeowners claim 30% of charger + installation cost, up to $1,000 per residence when the equipment is placed in service.
As of late 2025, this credit is currently scheduled to end for residential installs on June 30, 2026, and is limited to certain census tracts. Check eligibility and file IRS Form 8911 with your tax return.
2. State & local rebates
Many states, cities, and air‑quality districts offer upfront rebates for buying and installing a Level 2 charger at home. These can range from $100 to $1,000+, sometimes on top of the federal credit.
Your state energy office or local utility website is the best starting point.
3. Utility programs
Some utilities provide discounts on qualified smart chargers, special EV time‑of‑use rates, or even bill credits for allowing them to manage charging during peak demand.
Ask your utility about "EV rates," "managed charging," or "demand response" programs before you buy hardware.
Paperwork tip
Common mistakes when installing an EV charger at home
Avoid these expensive or unsafe missteps
Undersizing or oversizing the circuit
Installing a 16‑amp charger when you regularly drive 80 miles a day will be frustrating. Conversely, putting in a 60‑amp circuit in a small home without checking panel capacity can trigger costly upgrades or nuisance breaker trips.
Skipping permits to “save time”
Unpermitted work can create problems with your insurer, your city, and future buyers’ home inspectors. The small savings up front aren’t worth the potential headaches later.
Mounting the charger in the wrong spot
If the cord barely reaches your EV’s charge port, you’ll fight it every day, or drive over it. Plan cord routing carefully and test with your vehicle before the electrician drills holes.
Ignoring future vehicles
If you’re shopping a used EV today but plan to add a second EV later, it may be worth installing a 40–50 amp circuit now or running conduit for a second circuit while walls are open.
Relying only on public DC fast charging
Some new owners try to avoid installation costs by using fast chargers only. Besides costing more per kilowatt‑hour, that habit can stress the battery long‑term compared with regular Level 2 home charging.
Never use makeshift adapters
Best practices for daily home charging
- Set a daily charge limit, often 70–90%, to reduce battery wear, especially if you don’t need full range every day.
- Use your EV or charger app to schedule charging during off‑peak hours when electricity is cheapest.
- If you have multiple EVs, stagger charging windows or use a smart splitter/load‑sharing system approved by your electrician.
- Keep the charging cable off the ground and out of the way of tires and sharp edges to prolong its life.
- In very hot or very cold climates, expect slightly slower charging and consider parking indoors when possible.
How fast is “fast enough”?
Frequently asked questions about installing an EV charger at home
Home EV charger installation FAQ
How Recharged helps first-time EV owners
If you’re considering your first EV, or your first used EV, your home charging setup is just as important as the vehicle itself. At Recharged, every car comes with a Recharged Score battery‑health report, fair‑market pricing, and support from EV specialists who speak this language every day. They can help you estimate how much range you’ll realistically use, what kind of charger you need, and what to ask an electrician before you sign anything.
Install your EV charger at home thoughtfully, and you’ll turn fueling into something that just happens in the background. Combine that with a used EV you understand inside and out, and you’ve got the recipe for low‑stress, low‑cost electric driving for years to come.