If you just bought an EV, or you’re shopping for a used one, the next big question is how to get an EV charger installed at home without blowing your budget or running afoul of the electrical code. The good news: with some planning and the right electrician, a home Level 2 charger can be a straightforward upgrade that makes living with an EV dramatically easier.
Big picture
Why home EV charging is worth it
Why drivers install home chargers
A dedicated home charger means you plug in when you get home and wake up with a “full tank” every morning. That convenience often matters more than the raw charging speed. It also lets you shift charging to cheaper off‑peak electricity windows if your utility offers time‑of‑use rates, which can cut your per‑mile cost well below gasoline.
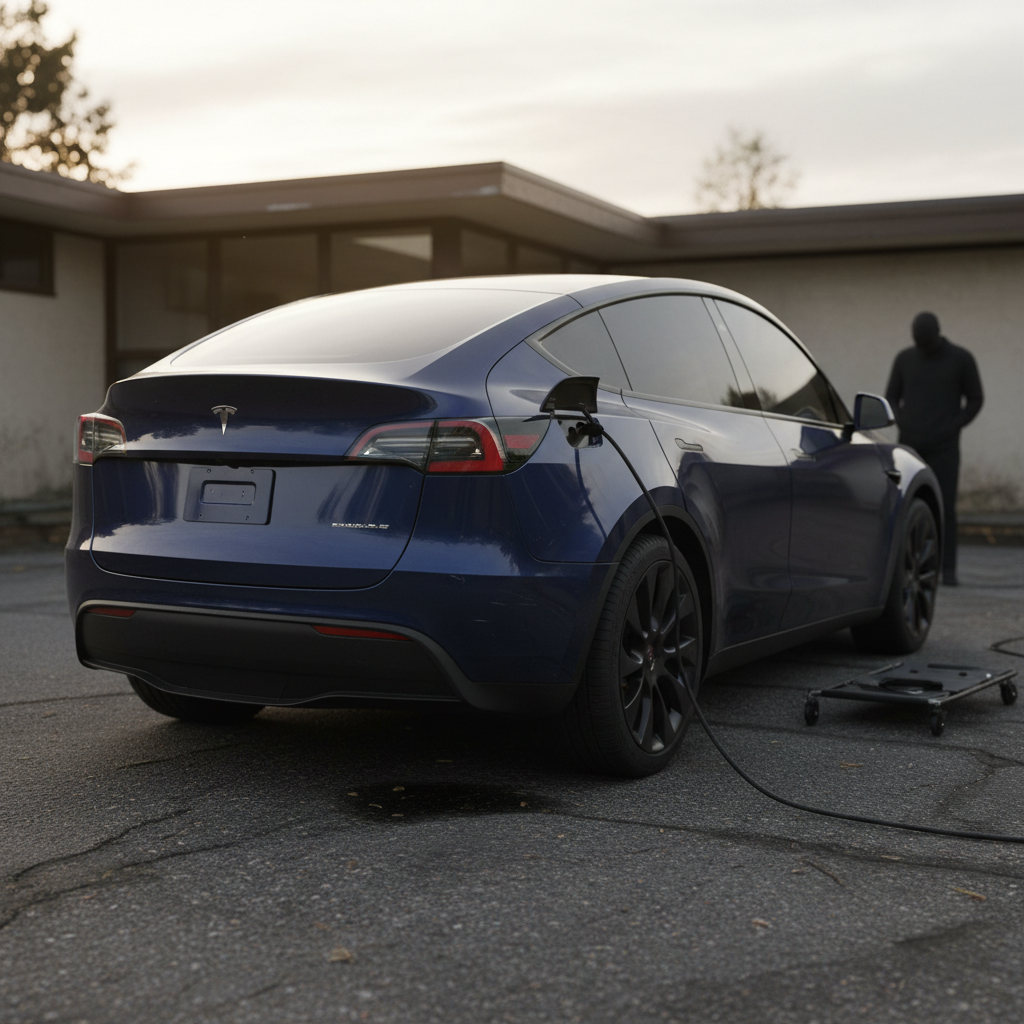
Step 1: Decide what kind of home charger you actually need
Before you call an electrician, get clear on what you’re installing. "EV charger" is used loosely, but there are three main setups for home use in the U.S.:
Common home charging options
Match the setup to your driving and home
Level 1 (120V outlet)
What it is: Plugging the portable cord that came with your EV into a normal wall outlet.
- ~3–4 miles of range per hour
- Good for low‑mileage drivers (under ~30–40 miles/day)
- Usually no electrician needed if the outlet is in good shape and on its own circuit
Level 2, plug‑in
What it is: A 240V circuit with a NEMA 14‑50 or similar receptacle and a plug‑in Level 2 EVSE.
- ~25–40 miles of range per hour
- Flexible, take the charger if you move
- Requires a new 240V circuit and outlet if you don’t already have one
Level 2, hardwired
What it is: The EVSE is permanently wired to a 240V circuit with no plug.
- Cleanest, most weather‑resistant option
- Often required outdoors or by local code
- Most common for higher‑amp (48–80A) units
Match charger speed to your car
For most households, a 32A–40A Level 2 charger on a 40A–50A circuit strikes the best balance of speed, cost, and compatibility. That’s enough for overnight charging even if you arrive home nearly empty.
Step 2: Check your electrical panel and parking setup
Next, take a sober look at your electrical service and where the car actually parks. These two details usually drive 80% of your total cost.
Evaluate your electrical panel
- Main service size: Look at the main breaker, most newer homes are 200A; older homes may be 100A.
- Spare spaces: Are there free breaker slots, or is the panel maxed out?
- Age and condition: Panels from certain brands or eras may need replacement before adding any large new loads.
A modern 200A panel in good condition often supports a 40A EV circuit with just a load calculation and no full upgrade.
Plan the charger location
- Distance from panel: Shorter wire runs cost less. A charger 5 feet from the panel is far cheaper than one 70 feet away.
- Indoor vs. outdoor: Outdoor or detached‑garage installs may require conduit runs or trenching.
- Cable reach: Choose a location where a 20–25 foot cable can reach your charge port without stretching across walkways.
Snap a few photos of your panel, the path, and the parking spot, these will be gold when you start getting quotes.
Don’t assume you need a panel upgrade

Step 3: Understand permits, codes, and when you need an electrician
Home EV charging is now common enough that most U.S. cities and counties have clear rules for it. The key is recognizing that you’re not just hanging a gadget on the wall, you’re adding a new 240V circuit that has to meet building and electrical codes.
- Most jurisdictions require an electrical permit for a new 240V EV circuit, even if the charger itself plugs into an outlet.
- An inspection is usually required after installation so the city or county can verify the work is safe and code‑compliant.
- The 2026 National Electrical Code treats a permanently installed EV charger as equipment that must be installed by a qualified person, which in practice means a licensed electrician in most areas.
- Many utilities and incentive programs require proof of a permitted installation before they’ll send a rebate check.
Resist the temptation to skip the permit
There are a few limited cases where a homeowner might legally install a simple circuit themselves, depending on local rules. But if you’re asking how to get an EV charger installed at home, the safest, quickest path is almost always to hire a licensed electrician and let them pull the permit.
Step 4: Get bids and compare true installed costs
Once you know what you want (for example, a 40A Level 2 charger near the garage panel) and you’ve taken pictures of your panel and parking area, you’re ready to get quotes. Treat this like any other home improvement project, you’re buying a complete installation, not just hardware.
What to ask for in every quote
1. Itemized, written estimate
Ask for a line‑item estimate that separates materials (wire, conduit, breaker, charger if they supply it), labor, permit fees, and inspection. This makes it easier to compare bids.
2. Load calculation and panel assessment
Have each electrician confirm, in writing, whether a panel upgrade is required and why. If one insists on an upgrade but can’t show the math, that’s a red flag.
3. Total out‑the‑door price
Make sure the quote clearly states the total cost including permit fees and inspection, not just “labor plus materials.”
4. Warranty and service
Ask how long they warranty their workmanship and whether they’ll handle any corrections if the inspector requires changes.
5. Experience with EV chargers
Installers who do EV work regularly know the code nuances, manufacturer requirements, and incentive paperwork. That experience is worth something.
Watch for permit upcharges
Step 5: Use tax credits and rebates to cut your bill
A big part of getting an EV charger installed at home is making the numbers work. In 2026, there are still several ways to bring that $900–$1,500 project total down, especially if you move quickly before certain federal incentives sunset.
Where savings on home EV chargers usually come from
Availability varies by state, utility, and timing, so always confirm the latest details before relying on a specific incentive.
| Incentive type | Typical value | Key requirements | Where to check |
|---|---|---|---|
| Federal EV charger tax credit | Up to 30% of costs, capped (often around $1,000 for homes) | Qualified equipment, installed at your primary residence, in service before federal expiration dates | IRS guidance, reputable tax resources, or your tax professional |
| State or local rebates | $100–$1,000+ one‑time rebate | Resident of the state/city, sometimes income limits, often requires proof of permit and installation | State energy office, DOT, or public utility commission sites |
| Utility rebates or bill credits | Flat credit (for example $300) or ongoing off‑peak rate discounts | Enroll your charger in a time‑of‑use or managed‑charging program and allow limited control of charging times | Your electric utility’s EV or “electrification” incentive page |
| Employer or automaker programs | $250–$1,000 toward equipment or install | Buying/leasing a qualifying EV, or being an employee of a participating company | HR intranet, automaker charging program pages |
Stacking multiple incentives is often allowed, but many require a permitted, inspected installation.
Mind the expiration dates
Because the tax landscape is shifting, it’s smart to confirm current rules for the year your charger will be placed in service. A qualified tax professional or up‑to‑date federal guidance is your best source here.
Step 6: Installation day – what actually happens
Once you’ve picked an installer and scheduled the work, the actual installation is usually a half‑day to full‑day project for a straightforward setup. Here’s what you can expect.
- The electrician reviews the plan with you, charger location, conduit path, and where they’ll need access.
- Power is shut off to the panel while they add the new breaker and route wiring to the charger location.
- They mount the EVSE on the wall or install the 240V receptacle, then make final connections.
- Power is restored, and they test the circuit and charger with your vehicle or a test load.
- If required, an inspector from your city/county visits to verify code compliance and closes the permit.
What you should have by the end of the job
How much does home EV charger installation really cost?
Costs vary widely by home, region, and how ambitious your setup is. Still, there are some realistic ballparks that can help you budget.
Realistic cost scenarios for U.S. homeowners
Figures below assume you already own the charger. Add roughly $300–$900 if the electrician is supplying a mid‑range Level 2 unit.
| Scenario | What’s involved | Typical installed cost before incentives |
|---|---|---|
| Simple install, garage next to panel | Short wire run, modern 200A panel, indoor charger location, no stucco/brick demo | $600–$1,000 |
| Standard install, longer run | Panel in basement or opposite wall, 30–60 ft of conduit/wire, some drywall work | $900–$1,800 |
| Detached garage or outdoor mount | Longer conduit run or trenching, weather‑rated equipment, GFCI requirements | $1,500–$3,000 |
| Panel upgrade plus charger | Old or undersized panel replaced or upsized, plus new EV circuit | $3,000–$6,000+ depending on service and local labor rates |
Actual quotes in your area may be higher or lower, but these ranges reflect common patterns in 2025–2026.
Focus on net cost, not sticker price
Common mistakes to avoid with home charger installs
Avoid these home charging pitfalls
Most are easy to prevent if you know to ask the right questions
Mounting the charger in the wrong spot
Installers sometimes default to the "easiest" location, right next to the panel, even if it makes daily charging awkward.
Think about future vehicles, backing‑in vs. nose‑in parking, and whether cables will create a tripping hazard.
Oversizing the circuit
Paying for a 60A or 80A circuit when your EV only accepts 32A or 40A AC won’t charge the car faster, but it will increase wire and breaker costs.
Skipping documentation
Not keeping copies of permits, inspections, and receipts can cost you later when you sell the house or claim incentives.
Ignoring future‑proofing entirely
On the flip side, if you know you’ll add a second EV or finish the garage soon, running slightly larger conduit or an extra pull string now can save serious money later.
Safety red flags
How Recharged fits into your home charging plan
At Recharged, our goal is to make the entire EV ownership experience as simple and transparent as possible, not just the moment you buy the car. Every used EV we list includes a Recharged Score Report with verified battery health and fair‑market pricing, so you’re starting from a solid baseline before you invest in home charging.
If you’re shopping for a used EV on Recharged and planning a home charger, our EV specialists can help you think through real‑world range needs, charging speed, and whether a modest Level 2 setup will fully cover your driving. When you’re ready to buy, you can finance the vehicle, arrange trade‑in, and handle paperwork completely online, then focus on getting your home charging dialed in before delivery.
Plan charging before or alongside your purchase
Ready to find your next EV?
Browse VehiclesHome EV charger installation FAQ
Frequently asked questions about getting a home EV charger installed
Getting an EV charger installed at home is less about picking a fancy box and more about planning a safe, code‑compliant electrical upgrade that fits your life. Decide how fast you really need to charge, understand your panel and parking layout, insist on permits and load calculations, and take advantage of incentives while they last. Do that, and home charging turns your EV from “interesting new technology” into a truly effortless daily driver, especially when you’ve paired it with the right used EV and clear battery‑health data from a platform like Recharged.